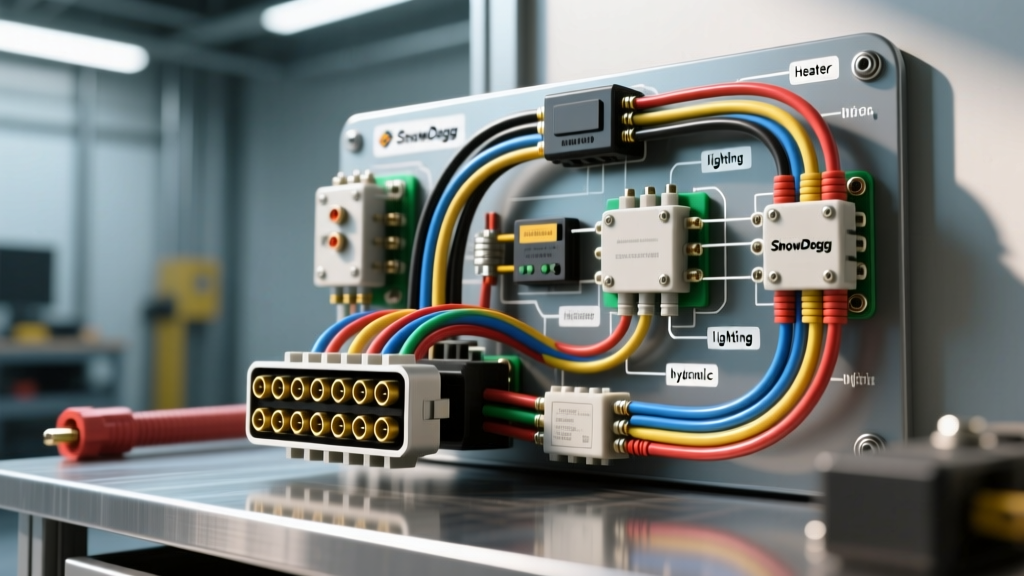
Introduction to SnowDogg Electrical Systems
Installing a SnowDogg plow system—whether you are rigging a VXP, Generation II, or Super Duty model—requires a thorough understanding of the underlying electrical architecture. Unlike older, simple relay-based systems, modern SnowDogg plows utilize a sophisticated 13-pin connector interface to manage lighting, hydraulic solenoid triggers, and controller data. When consulting a SnowDogg plow wiring diagram, technicians and DIYers often overlook the hidden costs and specialized tooling required to execute the harness routing reliably. A poorly crimped 14 AWG trigger wire or an improperly sealed ground connection will inevitably fail when exposed to road salt, ice, and severe vibration. This comprehensive guide breaks down the exact tool requirements, material costs, and technical specifications necessary to build or repair a SnowDogg harness that meets rigorous automotive standards.
Essential Tools for SnowDogg Harness Routing
To properly execute a SnowDogg plow wiring diagram, standard household wire strippers and pliers are entirely insufficient. The high-amperage motor circuits and low-amperage multiplex trigger circuits demand precision tooling to prevent voltage drop and arcing. Below is the required tool inventory for a professional-grade installation.
- Ratcheting Wire Crimpers (16-10 AWG & 8-4 AWG): You must use a ratcheting crimper designed for non-insulated open-barrel terminals. Ratcheting tools apply uniform pressure, ensuring the wire strands are cold-welded to the terminal without crushing the copper core. Cheap crimping pliers create micro-voids that lead to heat buildup and eventual failure at the solenoid.
- Adhesive-Lined Heat Shrink (3:1 Ratio): Standard electrical tape is strictly prohibited in plow wiring. You must use dual-wall, adhesive-lined heat shrink tubing. When heated, the inner adhesive melts and flows into the wire strands, creating a 100% waterproof seal against calcium chloride and brine solutions.
- Digital Multimeter with Min/Max Recording: Essential for performing voltage drop tests across the 13-pin connector and the main motor solenoid. A standard multimeter may miss intermittent voltage drops caused by internal wire corrosion; a Min/Max meter captures the exact voltage under the heavy load of the hydraulic pump.
- Wire Loom and Split Loom Tubing: All harnesses routed through the engine bay or along the truck frame must be encased in flexible split loom or braided sleeving to protect against abrasion from radiator fans, steering shafts, and debris.
- Dielectric Grease and Anti-Oxidant Paste: Dielectric grease (silicone-based) is used on the 13-pin connector faces to prevent moisture ingress. Anti-oxidant paste (such as Noalox) is mandatory for the heavy 2 AWG battery lugs to prevent galvanic corrosion between copper and lead/steel.
SnowDogg 13-Pin Wiring Diagram & Pinout Specifications
The nerve center of the SnowDogg electrical system is the 13-pin vehicle-to-plow connector. While the main hydraulic motor draws its power directly from the truck battery via a heavy 2 AWG cable, the 13-pin harness handles all lighting and hydraulic valve triggers. The following table outlines the standard Buyers Products SnowDogg 13-pin configuration, wire colors, and required AWG sizes based on SAE J1128 low-tension primary cable standards.
| Pin Number | Function | Standard Wire Color | AWG Size | Circuit Type |
|---|---|---|---|---|
| 1 | Main Ground | White | 10 AWG | Return Path |
| 2 | Marker / Clearance Lights | Brown | 14 AWG | Lighting |
| 3 | Left Turn / Stop | Yellow | 14 AWG | Lighting |
| 4 | Right Turn / Stop | Green | 14 AWG | Lighting |
| 5 | Headlights (Plow) | Black | 14 AWG | Lighting |
| 6 | Raise Solenoid Trigger | Blue | 16 AWG | Hydraulic Control |
| 7 | Lower Solenoid Trigger | Orange | 16 AWG | Hydraulic Control |
| 8 | Left Angle Solenoid Trigger | Red | 16 AWG | Hydraulic Control |
| 9 | Right Angle Solenoid Trigger | Purple | 16 AWG | Hydraulic Control |
| 10 | Auxiliary / Controller Power | Pink | 14 AWG | 12V Constant |
| 11 | Ignition Switched Power | Gray | 14 AWG | 12V Switched |
| 12 | Spare / Aux Light Trigger | Light Blue | 16 AWG | Reserved |
| 13 | Spare / Data | Tan | 16 AWG | Reserved |
Understanding the Dual-Circuit Architecture
Notice that the main motor power is absent from the 13-pin table. The hydraulic pump motor on a SnowDogg plow can draw upwards of 150 to 200 amps under peak stall conditions. Routing this amperage through a standard multi-pin connector would cause immediate melting and voltage drop. Therefore, the wiring diagram dictates a dedicated 2 AWG positive feed from the truck battery to a heavy-duty continuous-duty solenoid (often a Trombetta or White-Rodgers unit), and a second 2 AWG cable from the solenoid to the plow motor. The 13-pin connector merely carries the low-amperage trigger signal (typically under 2 amps) from the in-cab controller to close the main solenoid.
Cost Breakdown: OEM vs. Aftermarket Wiring Components
When budgeting for a SnowDogg plow wiring installation, costs can vary wildly depending on whether you purchase complete OEM harness kits from Buyers Products or source individual components from automotive electrical suppliers. Below is a realistic cost analysis for a complete truck-side and plow-side wiring setup.
| Component | OEM SnowDogg Kit Cost | Aftermarket / Custom Build Cost | Recommendation |
|---|---|---|---|
| Complete Truck-Side Harness (13-Pin) | $180.00 - $240.00 | $90.00 - $120.00 (Wire, Loom, Terminals) | OEM (Saves 4+ hours of labor) |
| Complete Plow-Side Harness | $150.00 - $190.00 | $80.00 - $100.00 | OEM (Ensures exact pin mapping) |
| Heavy-Duty Motor Solenoid (200A) | $65.00 - $85.00 | $45.00 (Cole Hersee / Trombetta) | Aftermarket (Identical internals) |
| 13-Pin Connector Kit (Die-Cast Metal) | $45.00 - $60.00 | $35.00 (Standard SAE J560 style) | OEM (Better weather seals) |
| 2 AWG Motor Cables & Lugs (Set of 2) | $50.00 | $30.00 (Bulk 2 AWG + lugs) | Aftermarket (Custom length fit) |
| Adhesive Heat Shrink & Fuses | $25.00 | $25.00 | Aftermarket (Buy in bulk) |
| Total Estimated Material Cost | $515.00 - $650.00 | $305.00 - $400.00 | Hybrid Approach |
The Hybrid Approach: Professional installers typically recommend purchasing the OEM truck-side and plow-side 13-pin harnesses to guarantee the molded weather seals and exact wire lengths. However, building your own 2 AWG motor cables and sourcing an aftermarket heavy-duty solenoid can save over $100 without sacrificing reliability, provided you use proper ratcheting crimpers and adhesive heat shrink on the lugs.
Installation Execution & Torque Specifications
Following the SnowDogg plow wiring diagram is only half the battle; proper mechanical execution ensures the system survives harsh winter conditions. Adhere to the following installation parameters:
Battery and Solenoid Connections
The main 2 AWG battery cables must be terminated with heavy-duty copper lugs, not stamped steel. Clean the battery terminals and solenoid studs with a wire brush until bare metal is exposed. Apply a thin layer of anti-oxidant paste to the lug faces before assembly. Torque the 5/16-inch solenoid studs to exactly 9-11 ft-lbs. Overtightening will strip the soft brass threads inside the solenoid, while undertightening creates high-resistance hot spots that will melt the terminal insulation.
13-Pin Connector Routing
Route the 13-pin harness through the grille or bumper using existing factory grommets. Never drill a new hole through the firewall or core support without installing a rubber grommet and sealing the edges with RTV silicone. The connector should be mounted at a slight downward angle to prevent water pooling in the pin cavities. Always pack the rear of the connector with dielectric grease before mating the truck and plow halves.
Common Failure Modes & Troubleshooting
Even with a flawless installation, SnowDogg systems can develop electrical faults over time. Understanding these failure modes allows for rapid diagnostics using your multimeter.
- Symptom: Plow Motor Clicks but Does Not Run.
Cause: High resistance on the main 2 AWG ground cable or a failing solenoid.
Fix: Perform a voltage drop test across the solenoid. With the controller engaged, measure the voltage between the battery side of the solenoid and the motor side. A reading above 0.5V indicates the solenoid contacts are burned and the unit must be replaced. - Symptom: Hydraulics Do Not Respond to Controller Commands.
Cause: Voltage drop on the 16 AWG trigger wires (Pins 6-9) or corroded 13-pin sockets.
Fix: Back-probe the 13-pin connector at the plow side while an assistant actuates the controller. If the in-cab controller sends 12V but only 8V arrives at the plow harness, the trigger wire is compromised or the pin is corroded. Clean the pins with electrical contact cleaner and re-tension the female sockets using a small pick tool. - Symptom: Plow Lights Flicker or Cut Out Over Bumps.
Cause: Pin 1 (Main Ground) is loose, or the lighting circuits are sharing a compromised ground path.
Fix: Ensure the 10 AWG white ground wire is bolted directly to a clean, unpainted surface on the plow frame. Do not rely on the mounting hinges for a ground path, as pivot grease and rust will interrupt the circuit.
Conclusion
Executing a SnowDogg plow wiring diagram requires a balance of precise electrical knowledge and smart budgeting. By investing in the correct ratcheting crimp tools, utilizing adhesive-lined heat shrink, and understanding the separation between high-amperage motor feeds and low-amperage 13-pin trigger circuits, you can build a harness that outlasts the truck itself. Whether you opt for a full OEM Buyers Products kit or a hybrid custom build, adherence to SAE standards and proper torque specifications will ensure your plow operates flawlessly in the harshest winter environments.