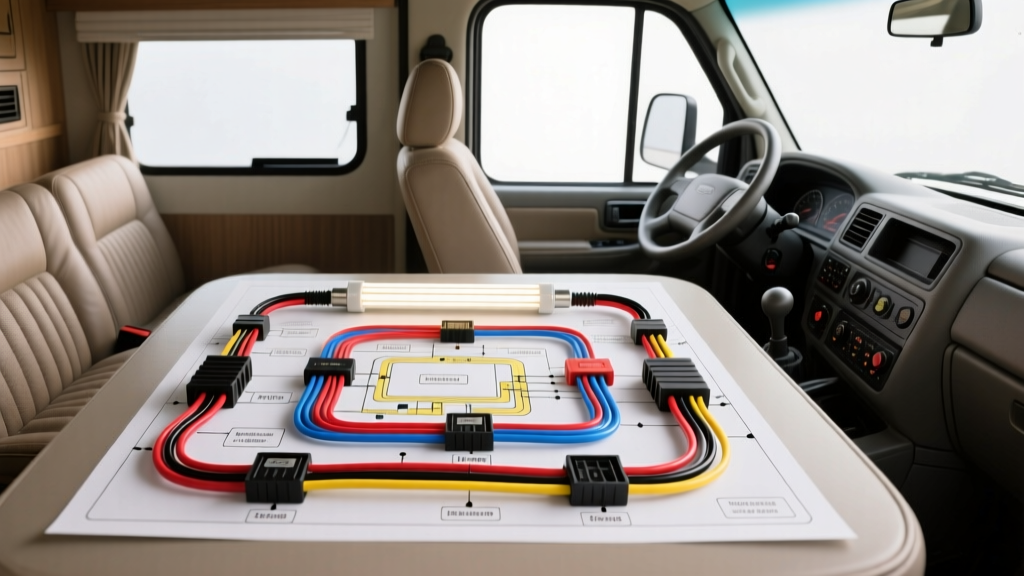
The 12V DC Lighting Dilemma: Ballast Bypass Essentials
Upgrading aging camper, sleeper cab, or work truck lighting requires more than simply swapping bulbs. Factory 12V DC fluorescent fixtures (typically F8T5 or F13T5) rely on specialized magnetic or electronic DC ballasts that draw parasitic power, generate excess heat, and fail frequently. When utilizing a wiring diagram convert fluorescent to led methodology, the core objective is the complete removal or isolation of the 12V DC ballast. Unlike 120V AC residential systems, 12V DC vehicle systems require strict attention to polarity, voltage drop, and wire gauge to ensure the new LEDs fire reliably without flickering or melting low-gauge OEM wiring.
Product Selection Guide: Direct-Wire LED Tubes vs. Rigid Strip Boards
Before cutting a single wire, you must select the appropriate LED retrofit product. The two dominant solutions for 12V vehicle applications are Direct-Wire LED Tubes and Rigid LED Strip Retrofit Boards. Below is a technical comparison to guide your selection.
| Specification | 12V Direct-Wire LED Tubes (T5/T8) | 12V Rigid LED Strip Boards |
|---|---|---|
| Installation Method | Direct drop-in (requires tombstone rewiring) | Magnetic or 3M VHB adhesive mount inside fixture |
| Wiring Complexity | Moderate (Ballast bypass, pinout specific) | Low (Simple 2-wire pigtail connection) |
| Beam Angle | 180° - 330° (Directional/Frosted) | 120° (Wide, diffused by OEM lens) |
| Current Draw (24" F8T5 Eq.) | ~0.45 Amps (approx. 5.5 Watts) | ~0.35 Amps (approx. 4.2 Watts) |
| Best Application | Deep fixtures, enclosed truck sleeper cabs | Shallow RV overhead cabinets, under-cabinet lighting |
Tombstone Anatomy: Shunted vs. Non-Shunted Sockets
The most common failure point when executing a 12V ballast bypass is misidentifying the tombstones (the sockets that hold the tube pins).
- Non-Shunted Tombstones: The two pin contacts are electrically isolated. This is the required socket type for single-ended direct-wire LED tubes, as it allows you to feed 12V+ to one pin and 12V- to the other on the same end without creating a dead short.
- Shunted Tombstones: The two pin contacts are internally bridged (shunted) to share current across both pins of a fluorescent tube. If you wire 12V+ and 12V- into a shunted tombstone, you will immediately blow the vehicle's lighting fuse or trip the DC breaker.
Expert Tip: Use a digital multimeter set to continuity mode. If the meter beeps when probing the two slots of a single tombstone, it is shunted and must be replaced with a non-shunted T5/T8 socket (typically 18 AWG pigtail style) before proceeding.
Step-by-Step Wiring Diagram: Convert Fluorescent to LED (12V DC)
Required Materials & AWG Specifications
According to SAE J1128 standards for automotive low-voltage cable, you must use cross-linked polyethylene (GXL or TXL) wire for vehicle interiors to resist heat and abrasion. Standard THHN copper is not rated for mobile DC environments.
- Wire: 18 AWG GXL (Red for 12V+, White for 12V- Ground).
- Connectors: Wago 221 2-port lever nuts (ideal for tight fixture enclosures) or heat-shrink ring terminals.
- Hardware: Non-shunted T5/T8 tombstones, wire strippers, flush cutters.
Execution & Pinout Configuration
- Isolate Power: Disconnect the negative terminal on the house battery bank or turn off the specific 12V DC lighting breaker at the main distribution panel.
- Remove the OEM Ballast: Open the fixture housing. Locate the 12V DC ballast. Cut the Red (12V+) and Black/White (12V-) input wires, leaving enough length to splice to your new 18 AWG GXL jumper wires.
- Cap the Output Wires: Cut the 4 output wires leading from the ballast to the tombstones. Cap them individually with heat shrink or electrical tape. They are no longer needed.
- Wire the Active Tombstone (Single-Ended Tube):
- Connect the 12V+ (Red) chassis wire to Pin 1 on the non-shunted tombstone.
- Connect the 12V- (White) chassis wire to Pin 2 on the same non-shunted tombstone.
- Wire the Dummy Tombstone: The tombstone at the opposite end of the fixture serves only as a mechanical mount. Do not connect any wires to it.
- Install and Test: Insert the single-ended 12V LED tube, ensuring the powered end aligns with the wired tombstone. Restore DC power and verify illumination.
Voltage Drop Calculations for Long RV & Sleeper Cab Runs
When converting fluorescent to LED in large 5th-wheel RVs or commercial truck sleepers, the distance from the DC fuse panel to the furthest fixture can exceed 40 feet (80 feet round trip). While LEDs draw less current, undersized OEM wiring can cause voltage drop, resulting in flickering or premature LED driver failure. Refer to NFPA 1192 (Standard on Recreational Vehicles) guidelines for maximum allowable voltage drop (typically 3% or less for lighting circuits).
| Total Wire Run (Round Trip) | Current Draw (Amps) | Minimum AWG (12V System) | Voltage Drop @ 12.6V |
|---|---|---|---|
| 10 Feet | 1.0A | 18 AWG | 0.04V (0.3%) |
| 20 Feet | 1.0A | 16 AWG | 0.08V (0.6%) |
| 40 Feet | 2.0A (Multiple fixtures) | 12 AWG | 0.25V (2.0%) |
| 60 Feet | 3.0A (Full interior run) | 10 AWG | 0.30V (2.4%) |
Real-World Failure Modes & Troubleshooting
Even with a perfect wiring diagram, 12V DC environments introduce unique electrical noise and switching challenges.
- Symptom: LED Flickers When Water Pump Cycles.
Cause: The LED driver is highly sensitive to the voltage ripple caused by the 12V DC water pump motor. Fix: Install a 12V DC inline capacitor filter (e.g., 10,000µF) near the light switch to smooth the DC waveform. - Symptom: LEDs Glow Dimly When Switch is OFF.
Cause: The OEM wall switch is an illuminated rocker switch with an internal neon or LED indicator. This indicator completes a high-resistance circuit through your new LED fixture, allowing micro-amps to leak through and charge the LED driver's capacitors. Fix: Replace the illuminated rocker switch with a standard, non-illuminated DC-rated mechanical switch. - Symptom: Melted Tombstone or Charring.
Cause: Using a shunted tombstone with a single-ended wire setup, or loose 18 AWG crimps causing high resistance and localized heating. Fix: Verify non-shunted sockets and use Wago lever nuts instead of cheap twist-on wire connectors, which vibrate loose in mobile applications.
Authoritative References
For further reading on automotive and RV electrical standards, consult the following resources:
- SAE J1128: Low Tension Primary Cable - Standards for cross-linked insulation and temperature ratings in mobile DC environments.
- NFPA 1192: Standard on Recreational Vehicles - Chapter 5 covers low-voltage DC wiring methods, overcurrent protection, and voltage drop limits for RV lighting circuits.