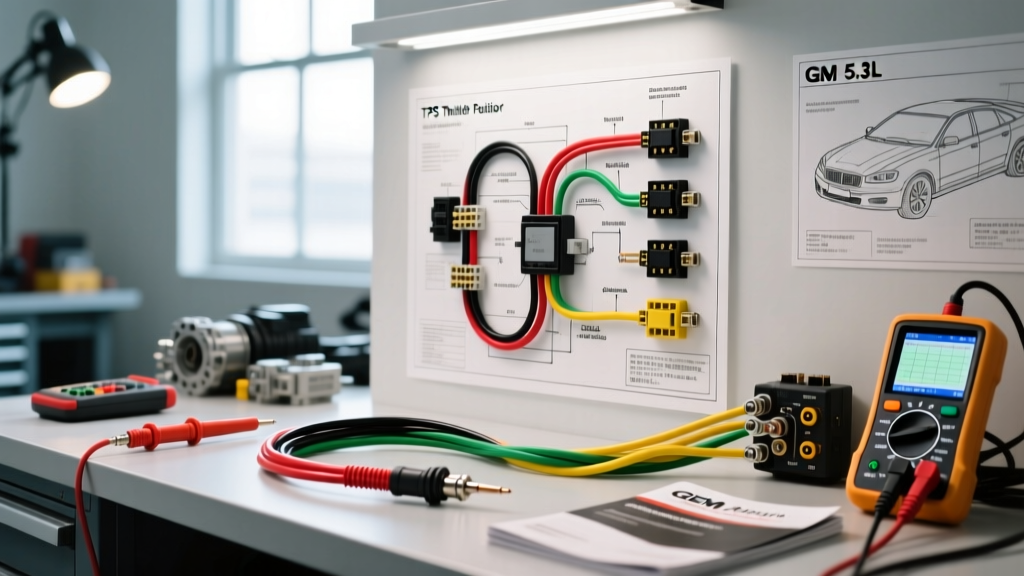
The True Cost of Throttle Position Sensor (TPS) Wiring Faults
When a diagnostic trouble code like P0122 (Throttle/Pedal Position Sensor/Switch A Circuit Low) or P0123 (Circuit High) triggers the check engine light, the immediate instinct for many DIYers and inexperienced technicians is to replace the sensor. However, consulting a TPS wiring diagram reveals that the sensor itself is only one node in a complex 5-volt reference circuit. In vehicles like the widely serviced GM 5.3L Vortec V8 (1999-2006), wiring harness degradation, terminal fretting, and 5V reference shorts account for nearly 60% of all TPS-related failures.
This comprehensive cost and tool requirements analysis breaks down exactly what it takes to properly diagnose, trace, and repair TPS wiring faults. We will evaluate the financial investment required for professional-grade diagnostic tools, compare OEM versus aftermarket repair materials, and outline the hidden costs of improper repair techniques that lead to repeat failures.
Decoding the TPS Wiring Diagram: GM 5.3L Vortec Reference
To accurately estimate repair costs, you must first understand the circuit architecture. The GM 5.3L utilizes a 3-wire potentiometer-style Throttle Position Sensor. Reading the factory TPS wiring diagram reveals three distinct circuits managed by the Powertrain Control Module (PCM):
| Pin | Wire Color | Circuit Function | AWG Size | Voltage Spec |
|---|---|---|---|---|
| A | Dark Blue | TP Signal Return to PCM | 20 AWG | 0.5V - 4.8V (Sweep) |
| B | Black | Low Reference (Sensor Ground) | 20 AWG | < 0.05V |
| C | Gray | 5V Reference from PCM | 20 AWG | 4.8V - 5.2V |
Reference: Helm Incorporated GM Factory Service Manuals
The most critical takeaway from the TPS wiring diagram is that the Gray 5V reference wire is often shared on a common bus with the MAP sensor and the Fuel Tank Pressure sensor. A short-to-ground in the TPS harness will not only throw a TPS code but can pull the entire 5V reference bus down, causing cascading drivability issues and multiple unrelated sensor codes. Diagnosing this requires specific tools, which brings us to our cost analysis.
Required Diagnostic Tools & Associated Costs
Guessing based on a generic OBD2 scanner is a fast track to wasting money on unnecessary replacement parts. Properly interrogating the TPS wiring diagram requires tools capable of measuring voltage drop, resistance, and signal latency. Below is the cost breakdown for the necessary diagnostic arsenal.
| Tool / Equipment | Purpose in TPS Diagnosis | Estimated Cost | DIY vs. Pro |
|---|---|---|---|
| High-Impedance Digital Multimeter (DMM) | Checking 5V reference and ground circuit voltage drop. Must be >10 Megaohms to avoid frying the PCM. | $150 - $400 | Required for Both |
| Automotive Oscilloscope (e.g., PicoScope 2204A) | Capturing micro-second signal dropouts in the carbon track sweep that a DMM cannot see. | $139 - $500 | Pro / Advanced DIY |
| T-Pin Backprobe Set | Safely piercing the connector weather seal to read live circuit voltage without damaging terminals. | $12 - $25 | Required for Both |
| Metri-Pack 150 Terminal Release Tool | Depressing the primary and secondary locking tangs to extract terminals from the TPS connector. | $15 - $35 | Required for Both |
| Breakout Box / Jumper Harness | Isolating the PCM from the harness to test for shorts-to-ground without risking PCM damage. | $80 - $250 | Pro Shop |
For advanced signal analysis, the Pico Technology Automotive Guided Tests library provides exceptional oscilloscope waveform references for TPS sweep anomalies.
Repair Material Costs: OEM vs. Aftermarket Solutions
Once the TPS wiring diagram has guided you to the fault—whether it is a chafed Dark Blue signal wire near the firewall or a corroded Black ground terminal—you must repair it. The materials you choose drastically impact both the upfront cost and the longevity of the repair.
1. The Connector Pigtail
- OEM (ACDelco PT1138 or equivalent): $25 - $40. Includes pre-attached 12-inch pigtails with factory-crimped Delphi Metri-Pack 150 terminals and correct wire seals.
- Aftermarket (Dorman / Generic): $12 - $18. Often lacks proper secondary terminal locks (TPA) and uses inferior PVC wire insulation that becomes brittle in high under-hood temperatures.
- Verdict: Always invest in the OEM pigtail. The $15 savings on an aftermarket connector is entirely negated by the labor cost of diagnosing a terminal back-out issue three months later.
2. Wire and Insulation Specifications
Never use standard hardware store PVC wire for TPS harness repairs. According to SAE J1128 standards for Low Tension Primary Cable, automotive wiring must withstand extreme thermal cycling and chemical exposure.
- Required Wire Type: 20 AWG GXL or TXL cross-linked polyethylene wire. GXL has a thinner insulation wall, making it ideal for tight loom routing, and a melting point exceeding 150°C (302°F).
- Cost: $15 - $25 per 100-foot spool.
- Heat Shrink: Dual-wall, adhesive-lined polyolefin heat shrink ($10 for an assorted kit). The internal adhesive melts and seals the wire strands against capillary corrosion, a critical requirement for low-voltage signal circuits.
3. Crimping Tools
Delphi Metri-Pack 150 terminals require a specific crimp profile. Using generic pliers will crush the terminal, altering the pin tension and causing fretting corrosion. A dedicated ratcheting crimper (such as the Hozan P-706 or a Delphi-specific die set) costs between $60 and $120 but ensures a gas-tight core crimp and a secure insulation crimp.
The Hidden Cost of Wire Piercing (A Warning)
One of the most expensive mistakes made when tracing a TPS wiring diagram is the use of "wire piercing probes" or sewing needles shoved through the wire insulation to check for voltage. While this costs nothing upfront, it introduces a catastrophic long-term failure mode. Piercing the 20 AWG GXL insulation creates a microscopic entry point for moisture. Over time, copper oxidation spreads under the insulation (capillary action), increasing circuit resistance. Because the TPS signal is a low-amperage, high-impedance circuit, even 2 ohms of added resistance from internal corrosion will skew the PCM's voltage reading, resulting in phantom throttle hesitation and a return of the P0122 code. Always back-probe the connector or use a proper breakout box.
Step-by-Step Diagnostic & Cost-Saving Workflow
- Visual Harness Inspection (Cost: $0): Before touching a multimeter, trace the harness from the TPS to the PCM. On the GM 5.3L, the harness frequently rubs against the rear of the alternator bracket or the cylinder head, melting the loom and shorting the Gray 5V reference to ground.
- 5V Reference Load Test (Cost: Time): Back-probe the Gray wire (Pin C) with the key on, engine off. If voltage reads below 4.8V, unplug the TPS. If the voltage instantly returns to 5.0V, the sensor is internally shorted. If it stays low, you have a harness short or a failing PCM 5V driver.
- Ground Circuit Voltage Drop (Cost: Time): Place one DMM lead on the battery negative terminal and back-probe the Black wire (Pin B). A reading above 0.05V indicates a poor ground splice in the engine harness, saving you from replacing a perfectly good TPS.
- Oscilloscope Sweep Test (Cost: Tool Investment): Connect the scope to the Dark Blue signal wire (Pin A). Slowly open the throttle by hand. Look for vertical dropouts to 0V in the waveform. A DMM will average this out and show a smooth transition, but the PCM sees the micro-second dropout as a fault, setting a code. If the dropout is present and the wiring shows no shorts, the sensor carbon track is worn.
Conclusion: Investing in Proper Diagnostics
Approaching a TPS fault without consulting the specific TPS wiring diagram and utilizing the correct diagnostic tools is a financial gamble. While the initial investment in a high-impedance DMM, an oscilloscope, and proper Metri-Pack 150 crimping tools may exceed $300, it prevents the all-too-common scenario of throwing $150 in parts and 4 hours of labor at a vehicle, only to have it return to the bay with the same check engine light. By understanding the 5V reference architecture, utilizing GXL wire, and performing rigorous voltage drop tests, you ensure a permanent, cost-effective repair that restores factory drivability.