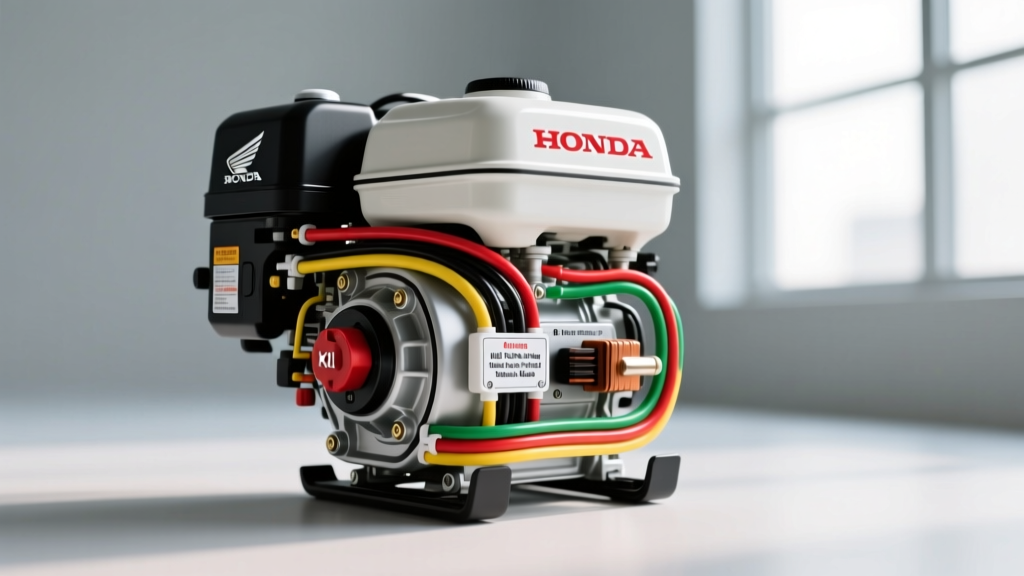
Understanding the Honda GX160 Magneto Ignition Circuit
When analyzing a diagram for Honda GX160 kill switch wiring, technicians and custom vehicle builders must first understand the fundamental operation of a flywheel magneto ignition system. Unlike modern automotive battery-fed ignition coils that require a 12V positive trigger to fire, the Honda GX160 (5.5 HP) utilizes a self-exciting magneto. The rotating flywheel magnets induce a voltage in the primary coil winding, which is then stepped up by the secondary winding to fire the spark plug.
Because the system generates its own power, the kill switch does not 'cut' electricity. Instead, the kill switch acts as a deliberate short-to-ground. When the switch is closed (turned to the OFF position), it connects the primary ignition coil terminal directly to the engine block. This collapses the magnetic field instantly, preventing the secondary winding from generating the 15,000+ volts required to jump the spark plug gap. Misunderstanding this principle is the leading cause of wiring errors when integrating a GX160 into custom karts, mini-bikes, or industrial utility vehicles.
Honda GX160 Kill Switch Wiring Diagram Specifications
The OEM wiring harness for the GX160 kill circuit is minimalist by design. Below is the technical specification chart for the primary kill circuit components, wire gauges, and resistance benchmarks required for accurate multimeter diagnostics.
| Parameter | OEM Specification | Aftermarket / Repair Standard |
|---|---|---|
| Wire Color Code | Black | Black (Signal) or Red (Switched Ground) |
| Wire Gauge (AWG) | 18 AWG | 16 AWG (Recommended for vibration resistance) |
| Coil Terminal Type | 1/4' (6.35mm) Male Spade | Insulated Female Spade with Locking Tab |
| Chassis Ground | M6 Ring Terminal to Block | Star Washer + M6 Bolt to Bare Metal |
| Primary Coil Resistance | 0.45 - 0.55 Ohms | 0.30 - 0.80 Ohms (Acceptable Range) |
| Kill Circuit Resistance (Closed) | Less than 1.0 Ohm | 0.1 - 0.5 Ohms (Optimal) |
| Kill Circuit Resistance (Open) | Infinite (OL) | Infinite (OL) |
Troubleshooting Flow 1: Engine Will Not Shut Off
Symptom: The ignition key or dashboard toggle switch is turned to the 'OFF' position, but the GX160 engine continues to run or sputter.
Root Cause Analysis: The primary coil is failing to ground out. The magneto is continuing to build and release voltage to the spark plug because the kill wire circuit has an open fault.
Step 1: Isolate and Test the Switch Continuity
Disconnect the kill wire from the ignition coil spade terminal. Set your digital multimeter (DMM) to the Continuity or Ohms setting. Place one probe on the disconnected kill wire terminal and the other on a verified clean engine ground. Toggle the dashboard switch to 'OFF'. The DMM should read less than 1.0 ohm. If it reads 'OL' (Open Loop), the fault lies within the dashboard switch, a broken wire in the chassis harness, or a corroded bulkhead connector.
Step 2: Inspect the Ignition Coil Spade Terminal
The GX160 operates in high-vibration environments, particularly in off-road vehicles and pressure washers. The 1/4-inch female spade connector on the kill wire frequently vibrates loose or suffers from internal brass oxidation. If the switch tests good but the engine won't die, crimp a new 16 AWG insulated female spade connector with an internal locking tang. Apply a dab of dielectric grease to prevent moisture intrusion.
Step 3: Verify the Chassis Ground Path
The kill switch must route to a true engine block ground, not just a painted vehicle frame. If the engine is mounted on polyurethane motor mounts (common in custom karts to reduce harmonic vibration), the engine block is electrically isolated from the chassis. You must run a dedicated 14 AWG ground strap from the engine block to the vehicle chassis to complete the kill switch circuit.
Troubleshooting Flow 2: Engine Has No Spark (Accidental Ground)
Symptom: The engine pulls over on the recoil starter or cranks via electric start, but fails to fire. Fuel delivery and compression are verified as nominal.
Root Cause Analysis: The kill circuit is permanently grounded, shorting out the magneto before it can fire the plug. This is often caused by chafed wiring, a failed internal switch spring, or heat damage.
Step 1: Disconnect at the Coil to Isolate the Harness
Pull the black kill wire off the ignition coil spade terminal. Attempt to start the engine. Caution: Ensure you have a safe method to stop the engine, such as an air intake block-off plate or decompression release, as the kill switch will now be disabled. If the engine fires and runs with the wire disconnected, the ignition coil is healthy, and the short-to-ground exists somewhere in the wiring harness or the switch itself.
Step 2: Inspect Wire Routing and Heat Shielding
Trace the black 18 AWG wire from the coil to the grommet where it exits the engine shroud. The OEM routing places this wire dangerously close to the GX160 exhaust muffler and heat shield. Over time, radiant heat melts the PVC wire insulation, allowing the copper conductor to touch the steel engine shroud. This creates a permanent dead short. Reroute the replacement wire using fiberglass heat-sleeving and secure it with stainless steel zip ties away from the exhaust header.
Step 3: Test the Coil Primary Winding
If the engine still has no spark with the kill wire completely removed, the fault is internal to the ignition coil. Set your DMM to the 200-Ohm scale. Measure between the coil's metal mounting tab (ground) and the spade terminal. A reading outside the 0.45 - 0.55 ohm specification indicates a burnt internal primary winding. Furthermore, check the air gap between the flywheel magnets and the coil laminations using a brass feeler gauge; the spec is 0.2 mm to 0.6 mm (0.008' - 0.024').
Advanced Diagnostic Decision Tree
- Symptom: Engine shuts off intermittently over bumps.
Fix: Inspect the spade connector for tension loss. Crimp a new locking terminal. Check for wire chafing where the harness passes through the sheet metal engine shroud grommet. - Symptom: Kill switch works, but causes a loud 'pop' or backfire upon shutdown.
Fix: The switch is grounding the coil too slowly, causing a weak, retarded spark that ignites unburnt fuel in the hot muffler. Replace a worn mechanical toggle switch with a solid-state relay or a high-quality rotary key switch with crisp detents to ensure instantaneous grounding. - Symptom: Dashboard 12V accessories (headlights/horn) blow fuses when kill switch is toggled.
Fix: Incorrect wiring. The builder has mistakenly wired the magneto kill wire into a 12V DC return circuit. The magneto kill wire must never see 12V positive voltage, or it will instantly fry the internal ignition coil diode/windings. Keep the magneto circuit entirely isolated from the vehicle's 12V DC battery system.
Expert Wiring & Routing Best Practices
When fabricating a custom harness based on a Honda GX160 kill switch wiring diagram, always upgrade the OEM 18 AWG wire to 16 AWG stranded copper with cross-linked polyethylene (XLPE) insulation. XLPE withstands higher under-hood temperatures than standard PVC. Use adhesive-lined marine heat shrink over all crimped connections to block moisture and prevent capillary action from drawing water into the copper strands. Finally, always use a star washer under the M6 ground ring terminal to bite through paint and powder coating, ensuring a zero-resistance path to the aluminum engine block.
Authoritative References
For further technical validation, refer to the following industry and manufacturer resources:
- Honda Power Equipment Service Manuals - Official OEM wiring schematics and torque specifications for the GX120/GX160/GX200 series.
- SAE J1128 Standard - Society of Automotive Engineers specifications for low tension primary cable and insulation temperature ratings.
- Haynes Small Engine Repair Manual - Comprehensive diagnostic flowcharts for magneto ignition systems and flywheel air-gap tolerances.