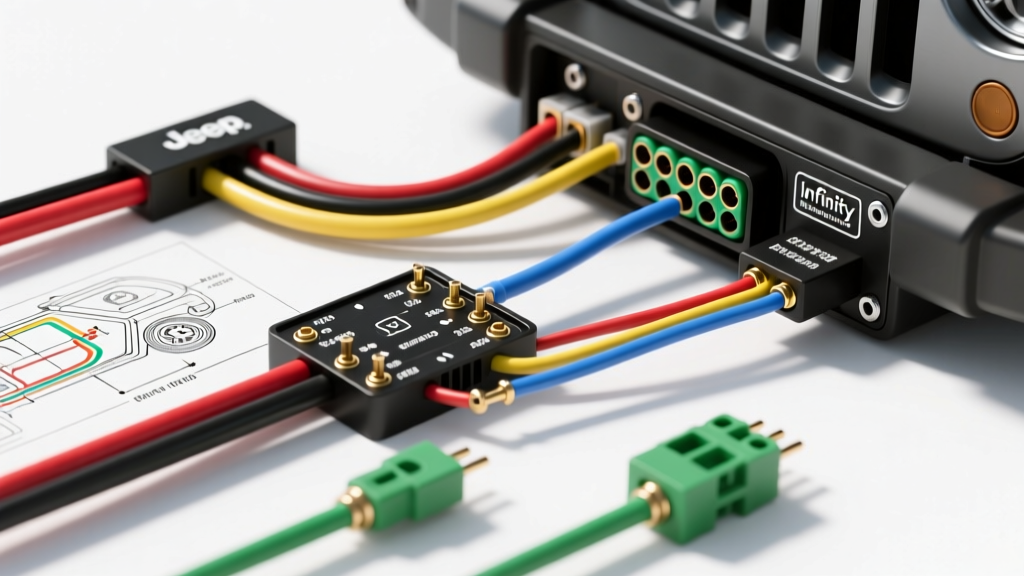
Decoding the Jeep TJ Stereo Wiring Diagram for Aftermarket Upgrades
The 1997-2006 Jeep Wrangler (TJ) is an off-road legend, but its factory audio system leaves much to be desired. Whether you are installing a modern double-DIN multimedia receiver, adding a subwoofer, or completely overhauling the sound stage, understanding the Jeep TJ stereo wiring diagram is the critical first step. Unlike modern vehicles that rely heavily on CAN-bus data networks for audio, the TJ utilizes a relatively straightforward analog 12-volt system. However, Chrysler's proprietary 22-pin connector, variable illumination circuits, and the notorious Infinity premium audio package present unique challenges for the 12-volt installer.
In this modification guide, we break down the exact wire color codes, pinout configurations, and AWG (American Wire Gauge) requirements needed to safely integrate aftermarket head units and amplifiers. Because the Wrangler is a high-vibration, high-moisture environment, we will also cover SAE-compliant wiring practices to ensure your upgrade survives the trail.
OEM 22-Pin Chrysler Connector Pinout Chart
The factory radio harness in the TJ terminates in a combined 22-pin Molex-style connector (often physically split into a 7-pin and 10-pin housing that lock together). When using a universal aftermarket harness adapter (such as the Metra 70-1817 or Scosche CR02B), you will need to match the following OEM wire functions to your new head unit's pigtail.
| Pin / Circuit | OEM Wire Color | Function | Factory AWG |
|---|---|---|---|
| 1 | Pink | Constant 12V+ (Battery / Memory) | 16 AWG |
| 2 | Red/White | Switched 12V+ (Ignition / Accessory) | 16 AWG |
| 3 | Black | Chassis Ground | 14 AWG |
| 4 | Orange/White | Illumination (12V+ when parking lights on) | 18 AWG |
| 5 | Orange/Black | Dimmer Signal (Variable 0-12V) | 18 AWG |
| 11 | Violet | Left Front Speaker (+) | 18 AWG |
| 12 | Violet/Black | Left Front Speaker (-) | 18 AWG |
| 13 | Gray | Right Front Speaker (+) | 18 AWG |
| 14 | Gray/Black | Right Front Speaker (-) | 18 AWG |
| 15 | Green | Left Rear Speaker (+) | 18 AWG |
| 16 | Green/Black | Left Rear Speaker (-) | 18 AWG |
| 17 | White | Right Rear Speaker (+) | 18 AWG |
| 18 | White/Black | Right Rear Speaker (-) | 18 AWG |
Note: Pin numbers may vary slightly depending on the exact model year and whether the vehicle left the factory with the base or Infinity audio package. Always verify with a digital multimeter (DMM) before making permanent crimps.
Handling the Infinity Premium Audio System
If your TJ is equipped with the factory Infinity upgrade, your wiring project becomes significantly more complex. The Infinity system uses an external amplifier mounted behind the passenger side kick panel or under the center console (depending on the year). The factory head unit outputs low-level pre-amp signals to this amplifier, rather than high-level speaker wire signals.
Bypassing the Factory Amplifier
Most aftermarket installers choose to bypass the degraded, low-power Infinity amplifier entirely. To do this, you cannot simply plug a standard harness adapter into the dash. You must run new 16 AWG primary speaker wire from your aftermarket head unit's high-level outputs directly to each door speaker. According to SAE J1128 standards for low-tension primary cable, using GXL or TXL cross-linked polyethylene insulated wire is highly recommended for the Wrangler, as it resists the extreme heat and abrasion found inside the TJ's door jambs and rubber accordion boots.
To bypass the amp:
- Cut the factory speaker wires at the Infinity amplifier plug.
- Route new 16 AWG stranded copper wire through the factory rubber door boots (use a silicone spray lubricant to prevent tearing the brittle rubber).
- Splice the new wires directly to the speaker terminals in the doors, bypassing the factory amp and dash harness entirely.
Solving the Remote Turn-On (Amp Trigger) Issue
A common roadblock when referencing a standard Jeep TJ stereo wiring diagram is the absence of a dedicated 12V+ remote turn-on wire for aftermarket amplifiers. The Chrysler harness does not provide a dedicated 'Amp Turn-On' circuit at the radio cavity.
If you are adding a subwoofer amplifier, you have two reliable options to trigger the amp's remote terminal:
- The Accessory Circuit Relay: Tap into the Red/White switched 12V+ ignition wire using a T-tap or Posi-Tap connector. Run this to a standard 30A Bosch-style automotive relay. Use the relay to switch a dedicated 14 AWG wire directly from the battery (via a 5A inline fuse) to the amplifier's remote terminal. This prevents drawing excessive current through the factory ignition switch, which is a known failure point on high-mileage TJs.
- DC Offset / Signal Sensing: Many modern aftermarket amplifiers feature 'Auto-Turn-On' circuitry that senses the DC bias voltage on the RCA audio cables. If your amp supports this, simply connect the RCA outputs from the head unit to the amp, and the amplifier will power on automatically when the radio is turned on, eliminating the need for a remote wire entirely.
Grounding Best Practices for the TJ Tub
The Jeep Wrangler TJ body tub is painted steel, and the factory grounding points are often inadequate for high-current aftermarket audio gear. A poor ground is the number one cause of alternator whine, head unit rebooting, and clipped amplifier signals.
When grounding your aftermarket head unit or DSP (Digital Signal Processor), do not rely on the thin factory black wire. Instead, fabricate a new ground harness using 12 AWG or 10 AWG wire. Locate a heavy steel bolt on the under-dash crossmember. Remove the bolt, use a wire wheel or sandpaper to grind away the powder-coat and paint down to bare, shiny metal. Attach a properly crimped, heat-shrink-sealed ring terminal to your ground wire, secure it to the bare metal, and treat the area with dielectric grease to prevent rust. For deeper electrical integration, referencing Haynes Chrysler/Jeep Repair Manuals can help you locate the main factory ground distribution blocks located behind the passenger kick panel.
Troubleshooting Common TJ Audio Modifications
Even with the correct wiring diagram, the TJ's unique electrical quirks can cause issues. Use this diagnostic tree to solve common post-installation problems:
Symptom: Head Unit Pops or Resets When Cranking the Engine
- Cause: The TJ's starter draws massive amperage, causing system voltage to drop below 9V. If the Pink constant 12V wire is tapped into a circuit shared with the ECU or gauges, the voltage drop will reset the radio.
- Fix: Verify the Pink wire is connected to a true, unswitched battery source. If the issue persists, install a 1-Farad capacitor or a dedicated 12V lithium battery backup (like an NVX XCAP) wired directly to the head unit's constant and ground wires to bridge the voltage drop during cranking.
Symptom: Alternator Whine Pitching Up and Down with RPMs
- Cause: Ground loop. The head unit ground and the amplifier ground are at different electrical potentials, allowing AC ripple from the alternator to enter the audio signal path.
- Fix: Ensure both the head unit and the amplifier are grounded to the exact same bare-metal point on the chassis, or run a dedicated ground wire from the head unit back to the amplifier's main ground block. Never ground audio equipment to the painted seatbelt tower or the aluminum center console brackets.
Symptom: Dash Illumination Blows the Radio Fuse
- Cause: Incorrect wiring of the Orange/White illumination and Orange/Black dimmer wires. If the dimmer wire (which varies voltage based on the headlight switch dial) is crossed with a constant 12V source, it will short out and blow the head unit's internal fuse.
- Fix: Isolate the Orange/Black dimmer wire and tape it off. Most modern aftermarket stereos only require the Orange/White illumination wire to dim the screen. Use a DMM to verify the Orange/White wire only receives 12V when the parking lights are physically switched on.
By respecting the factory pinouts, upgrading to SAE-compliant wire gauges, and properly managing your grounds, your Jeep TJ audio modification will deliver crystal-clear sound, whether you are cruising the highway or idling on a rocky trail. For specific harness adapters and fitment kits, the Crutchfield Jeep Wrangler Audio Guide remains an excellent supplementary resource for verifying dash kit dimensions and antenna adapter requirements (typically a Motorola-to-DIN antenna adapter for the TJ).