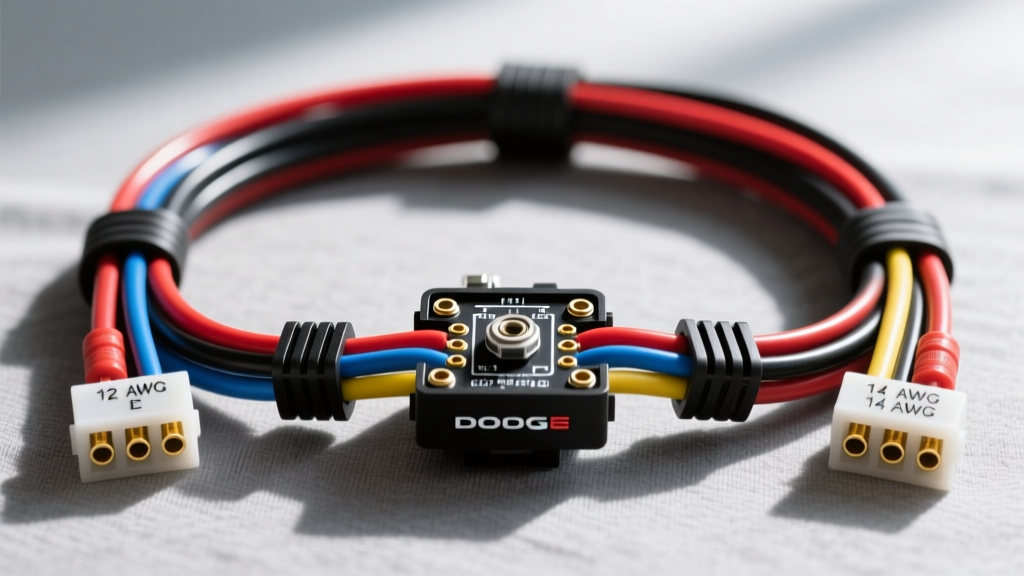
Diagnosing the Dodge Ram Ignition Switch Harness Failure
When sourcing a replacement ignition wire Dodge Ram ignition switch wiring harness, technicians and DIYers must navigate a minefield of undersized factory wiring, melted connector housings, and incompatible aftermarket pigtails. The 3rd-generation (2003-2008) and early 4th-generation (2009-2012) Dodge Rams are notorious for ignition switch electrical failures. The root cause is rarely the mechanical switch itself; rather, it is the electrical bottleneck at the harness connector. High-amperage accessory and run feeds are forced through terminals that degrade over time, increasing resistance, generating extreme heat, and ultimately melting the plastic connector cavity.
Selecting the correct harness kit requires understanding terminal metallurgy, wire gauge specifications, and insulation materials. This guide compares OEM Mopar solutions against leading aftermarket alternatives, providing the technical data necessary to make an informed, long-lasting repair.
The Anatomy of the Melted Connector Failure
Before selecting a replacement, it is critical to understand why the factory harness fails. The Dodge Ram ignition switch routes multiple high-current circuits through a single 7-way or 8-way connector (depending on the exact model year and trim). The primary Fused B+ (Battery Feed) circuit carries upwards of 20 to 30 amps continuously when the key is in the RUN position, feeding the Totally Integrated Power Module (TIPM) logic, the SKIM (Sentry Key Immobilizer Module), and HVAC controls.
The factory harness often utilizes 14 AWG wire for circuits that demand 10 AWG capacity. According to SAE J1128 standards for low-tension primary cable, a 14 AWG TXL wire is rated for roughly 32 amps in a single-conductor open-air environment. However, bundled inside a steering column jacket with ambient heat from the heater core and HVAC ducts, the ampacity drops significantly. As the terminal crimp loosens from thermal cycling, micro-arcing occurs. This raises the resistance, generating enough localized heat to melt the nylon connector housing and cause a dead dash, intermittent stalling, or a complete no-start condition.
Product Comparison: OEM vs. Aftermarket Harness Kits
When replacing the ignition wire Dodge Ram ignition switch wiring harness, you generally have three routes: OEM Mopar pigtails, standard aftermarket repair kits, and heavy-duty custom upgrades.
1. Mopar OEM Replacement Pigtail (Part #68019584AA / 56051141AA)
The OEM Mopar pigtail is the direct factory replacement. It features the correct cavity locking tangs and weather seals designed to mate perfectly with the ignition switch receptacle.
- Pros: Guaranteed fitment; exact wire color coding matching the factory service manual; high-quality nylon housing that resists initial warping.
- Cons: Mopar often retains the factory 14 AWG wire gauge on the main B+ feed in their repair pigtails. While the terminal tension may be improved, the fundamental wire gauge bottleneck remains, meaning the harness is still susceptible to future thermal overload if auxiliary loads are added.
- Best For: Purists restoring a truck to exact factory specifications without modifying the electrical load.
2. Dorman Conduct-Tite Pigtail (Part #645-935 / 85845)
Dorman offers a widely available, cost-effective aftermarket solution. Their kits typically include the connector, pre-crimped wires, and butt splices for installation.
- Pros: Readily available at local auto parts stores; often includes extra wire length for routing flexibility; affordable price point.
- Cons: Terminal metallurgy is often stamped brass rather than beryllium copper. Brass lacks the spring tension retention of beryllium copper, meaning the terminals can loosen faster under thermal cycling. Furthermore, the included PVC wire insulation is less heat-resistant than automotive-grade TXL.
- Best For: Quick, budget-friendly repairs on trucks that will be sold or used for light-duty commuting.
3. Standard Motor Products (SMP) S-1039 / Custom Heavy-Duty Upgrades
SMP and specialized custom harness builders offer upgraded pigtails that address the factory flaws. High-end custom harnesses utilize 10 AWG wire for the main power feeds and beryllium copper terminals.
- Pros: Upgraded wire gauge eliminates the voltage drop and heat bottleneck; TXL or XLPE insulation withstands under-dash temperatures up to 150°C; open-barrel crimps provide superior mechanical and electrical bonds.
- Cons: Higher cost; longer lead times if ordering custom; thicker 10 AWG wire requires careful routing to avoid putting stress on the ignition switch solder joints.
- Best For: Heavy-duty work trucks, off-road rigs, and vehicles running high-draw aftermarket accessories (light bars, winch solenoids, auxiliary HVAC).
Technical Specifications & Pinout Reference
Proper installation requires verifying the pinout. Dodge Ram ignition switch connectors vary slightly by year, but the core 7-way high-current configuration generally follows the standard Chrysler/Jeep color code. Always verify with a multimeter before splicing.
| Pin Cavity | Wire Color (Typical) | Circuit Function | Factory AWG | Recommended Upgrade AWG |
|---|---|---|---|---|
| 1 | Pink / White Stripe | Fused B+ (Battery Feed) | 14 AWG | 10 AWG |
| 2 | Dark Blue | Accessory (ACC) | 14 AWG | 12 AWG |
| 3 | Dark Green / Red Stripe | Run / Accessory (Run/ACC) | 14 AWG | 12 AWG |
| 4 | Yellow | Start Signal (ST) | 16 AWG | 16 AWG |
| 5 | Black / Light Blue | Ground / SKIM Return | 18 AWG | 18 AWG |
| 6 | Violet / White Stripe | SKIM Data / CAN Bus | 20 AWG | 20 AWG (Shielded) |
| 7 | Empty / Dummy | N/A | N/A | N/A |
Note: The SKIM (Sentry Key Immobilizer) ring sits directly over the ignition cylinder and interacts with the transponder key. Ensure the replacement harness wires are routed away from the SKIM ring to prevent electromagnetic interference (EMI) that can cause a 'No Key Detected' error.
Selection Criteria & Professional Installation Techniques
Choosing the right ignition wire Dodge Ram ignition switch wiring harness is only half the battle. The installation method dictates the lifespan of the repair. The Mopar Tech Authority service manuals strictly dictate specific splicing and crimping procedures for steering column harnesses.
1. Terminal Crimping vs. Soldering
Never solder wires inside a steering column harness. Solder creates a rigid, brittle joint that will fatigue and crack under the constant vibration of the steering shaft and column movement. Instead, use open-barrel crimp terminals and a dedicated ratcheting crimp tool (such as the TE Connectivity or Molex open-barrel dies). A proper crimp creates a cold-weld gas-tight seal where the copper strands deform into the terminal metal, preventing oxygen and moisture from causing corrosion.
2. Wire Insulation Materials
Reject any harness kit that uses standard PVC (Polyvinyl Chloride) wire insulation. PVC becomes brittle at high temperatures and can melt against the HVAC heater core ducts. Insist on kits utilizing TXL (Thin-wall Cross-linked) or XLPE insulation. As detailed by Standard Motor Products engineering bulletins, TXL wire offers superior abrasion resistance and can withstand continuous temperatures up to 150°C (302°F), making it the only safe choice for under-dash Dodge Ram environments.
3. Splicing and Sealing
When splicing the new pigtail into the existing column harness, avoid cheap vinyl electrical tape. Use adhesive-lined, dual-wall heat shrink tubing (3:1 shrink ratio). The inner layer of thermoplastic adhesive melts and flows into the wire strands, creating a waterproof, dielectric seal that prevents capillary action from drawing moisture into the copper strands.
Troubleshooting Voltage Drop & Post-Installation Testing
After installing your selected harness kit, you must verify the integrity of the circuit before reassembling the steering column shrouds. A voltage drop test is the only accurate way to confirm that the new ignition wire Dodge Ram ignition switch wiring harness is flowing adequate current.
The Voltage Drop Test Procedure
- Prepare the Circuit: Turn the ignition key to the RUN position (do not start the engine). This energizes the main B+ and Run/ACC circuits.
- Set the Multimeter: Set your digital multimeter to DC Volts.
- Test the B+ Feed: Place the red probe on the battery positive terminal and the black probe on the Pink/White wire at the back of the ignition switch connector.
- Evaluate the Reading: A healthy circuit should show a voltage drop of less than 0.1V (100mV). If you read 0.2V or higher, you have excessive resistance. This indicates a poor crimp, a damaged terminal inside the new connector, or an undersized wire gauge struggling to meet the truck's amperage demand.
- Test the Ground Side: Place the red probe on the battery negative terminal and the black probe on the switch ground circuit. The drop should be less than 0.05V.
Common Post-Installation Failure Modes
If the truck experiences intermittent stalling or the dash flickers after a new harness installation, check for terminal push-out. This occurs when the wire is pulled during steering column tilt adjustments, causing the terminal locking tang to fail and the pin to back out of the plastic housing by a few millimeters. To prevent this, always create a 'service loop' (a slight S-curve of slack) in the wiring harness before zip-tying it to the column bracket. This ensures that the full range of tilt-steering movement does not place mechanical tension on the ignition switch solder joints or the harness connector cavities.
Conclusion
Replacing the ignition wire Dodge Ram ignition switch wiring harness is a critical repair that demands attention to wire gauge, terminal metallurgy, and insulation specifications. While OEM Mopar pigtails offer exact fitment, upgrading the main B+ feed to 10 AWG TXL wire with beryllium copper terminals provides a permanent solution to the factory's thermal bottleneck. By adhering to proper open-barrel crimping techniques and validating the repair with a voltage drop test, you can ensure your Dodge Ram's electrical system remains reliable for the long haul.