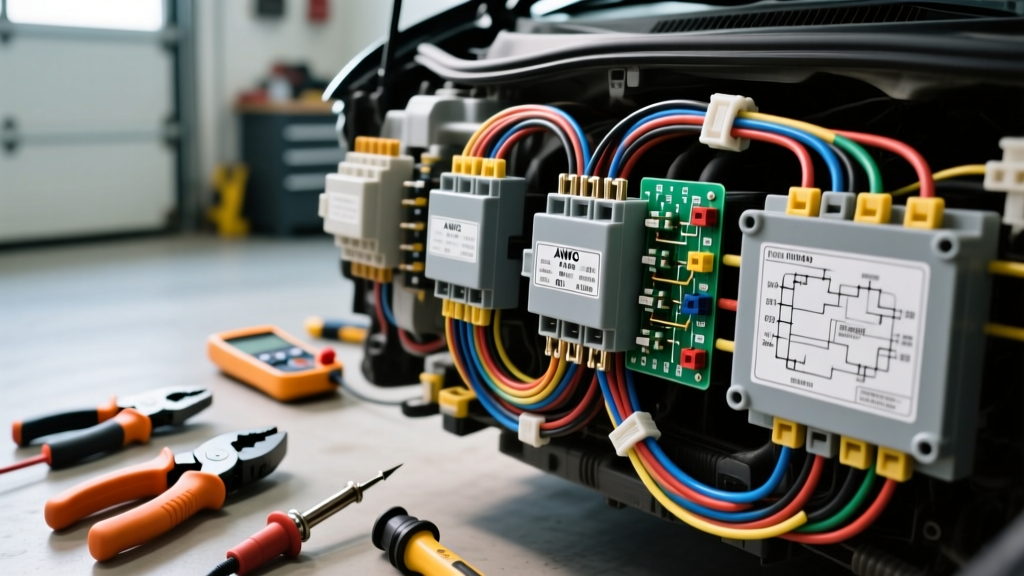
The True Cost of Wiring Car Electrical Accessories Safely
The aftermarket for car electrical accessories has exploded, ranging from high-output LED light bars and 12V refrigerators to heavy-duty power inverters and winches. However, a pervasive issue in the automotive aftermarket is the reliance on cheap, mass-produced wiring kits. These kits frequently utilize Copper Clad Aluminum (CCA) wire, undersized fuse holders, and non-ratcheting crimp tools that lead to high resistance, severe voltage drop, and ultimately, electrical fires. Properly integrating car electrical accessories into a vehicle's architecture requires an investment in Oxygen-Free Copper (OFC) or cross-linked polyethylene (TXL/SXL) wiring, proper circuit protection, and professional-grade termination tools.
This cost and tool requirements analysis breaks down the exact budget and equipment needed to safely install both medium-draw (150W LED lighting) and high-draw (1000W inverter) car electrical accessories, ensuring long-term reliability and adherence to SAE J1128 low-voltage cable standards.
Tooling Requirements: Hobbyist vs. Professional Grade
When terminating circuits for car electrical accessories, the mechanical and electrical integrity of the crimp is paramount. A poor crimp introduces resistance, which generates heat. Below is an analysis of the required tooling, contrasting budget options with professional-grade equipment that ensures gas-tight connections.
| Tool Category | Budget/Hobbyist Option ($) | Professional Grade Option ($) | Technical Justification |
|---|---|---|---|
| Wire Strippers | Standard automatic strippers ($15) | Knipex ErgoStrip or Ideal Reflex ($40-$160) | Cheap strippers nick the copper strands, reducing the effective AWG and creating a weak point for vibration-induced failure. |
| Crimpers (Insulated) | Non-ratcheting pliers ($20) | Titman or IWISS Ratcheting Crimper ($45-$90) | Ratcheting tools ensure the exact compression force is applied to the wire barrel and insulation barrel, preventing pull-out under vibration. |
| Crimpers (Deutsch/DT) | Standard pliers (Not Recommended) | Asta or IWISS DT/AT Pin Crimper ($60-$120) | Deutsch connectors require a precise four-indent crimp on the wire barrel. Standard pliers will deform the pin, preventing it from seating in the housing. |
| Heat Gun | Single-temp craft gun ($25) | Milwaukee M18 Dual-Temp ($120) | Adhesive-lined heat shrink requires even, high heat (approx. 250°F/120°C) to melt the inner polyolefin sealant without scorching the outer jacket. |
Material Cost Breakdown: 150W LED Light Bar Installation
A 150W LED light bar draws approximately 12.5 Amps at 12.0V (engine off) and 10.4 Amps at 14.4V (alternator charging). While 14 AWG wire is technically sufficient for the amperage, automotive environments demand 12 AWG TXL wire for superior abrasion resistance and to minimize voltage drop over the long routing distance from the battery to the front grille.
Bill of Materials (BOM) & Cost Analysis
| Component | Specification | Est. Cost |
|---|---|---|
| Primary Wire | 12 AWG TXL (Red for Power, Black for Ground) | $18.00 (25 ft) |
| Relay | Bosch-Style 5-Pin 12V 40A Relay (Pins: 30, 87, 85, 86, 87a) | $6.50 |
| Circuit Protection | 20A ATC Inline Fuse Holder with Maxi-fuse adapter | $8.00 |
| Connectors | Deutsch DT 2-Pin Receptacle & Plug (with wedges and seals) | $12.00 |
| Switch & Trigger | Add-A-Circuit Fuse Tap (for ignition 12V source) & Dash Switch | $15.00 |
| Routing & Loom | Tesa 51036 PET Fleece Tape & Split Loom Tubing | $14.00 |
| Total Estimated Cost | Professional-Grade Wiring Kit | $73.50 |
Note: Generic e-commerce wiring kits cost around $15 but utilize 16 AWG CCA wire and non-sealed spade terminals, which will corrode within months of exposure to road salt and moisture.
High-Draw Accessory Analysis: 1000W Power Inverter
Installing high-draw car electrical accessories like a 1000W continuous power inverter requires a completely different approach to wire sizing and circuit protection. A 1000W inverter operating at 85% efficiency will pull roughly 98 Amps from the vehicle's 12V system at full load. Routing this through the firewall and into the cabin or bed requires heavy-gauge cabling and high-amperage fusing.
Voltage Drop and AWG Sizing Chart
According to Del City Wire specifications and standard automotive electrical practices, voltage drop should not exceed 3% (0.36V on a 12V system) for critical accessories. Below is the sizing matrix for a 100A continuous draw based on one-way wire length:
| One-Way Distance | 4 AWG SXL (Voltage Drop) | 2 AWG SXL (Voltage Drop) | 1/0 AWG SXL (Voltage Drop) |
|---|---|---|---|
| 5 Feet | 0.12V (Acceptable) | 0.08V (Ideal) | 0.05V (Overkill) |
| 10 Feet | 0.25V (Acceptable) | 0.15V (Ideal) | 0.10V (Ideal) |
| 15 Feet | 0.38V (FAIL - Exceeds 3%) | 0.23V (Acceptable) | 0.15V (Ideal) |
| 20 Feet | 0.51V (FAIL) | 0.31V (Marginal) | 0.20V (Ideal) |
For a standard truck installation requiring 15 feet of routing from the battery to the rear bed, 1/0 AWG SXL wire is the correct choice. The material cost for 1/0 AWG OFC/SXL wire is approximately $6.50 per foot ($195 total), plus a $25 125A ANL fuse and block. While expensive, undersizing this wire will cause the inverter to trigger its internal low-voltage cutoff prematurely and poses a severe thermal hazard.
Hidden Costs: Connectors, Loom, and Routing Hardware
When budgeting for car electrical accessories, installers often forget the ancillary materials required for a factory-style, durable installation.
- Adhesive-Lined Heat Shrink (Dual Wall): Standard PVC heat shrink cracks under hood temperatures and allows capillary action to draw moisture into the crimp. 3M MDT or equivalent polyolefin adhesive-lined shrink ($15/pack) melts an inner sealant that waterproofs the connection.
- Ring Terminal Sizing: High-current accessories require 3/8" or 5/16" stud ring terminals. Ensure you purchase tinned, OFC ring terminals with the correct wire gauge entry (e.g., 2 AWG to 3/8" stud). Cost: ~$2.00 each.
- Chassis Ground Preparation: A common failure mode is grounding to painted sheet metal. You must budget for a wire brush wheel or sanding discs ($10) to strip the chassis down to bare metal, followed by a coating of dielectric grease to prevent galvanic corrosion.
Expert Troubleshooting: When the Accessory Fails to Power
Even with premium materials, car electrical accessories can fail to operate if the architectural integration is flawed. Use a digital multimeter (DMM) to perform a Voltage Drop Test rather than simply checking for continuity. Continuity tests do not reveal high-resistance faults under load.
Symptom-Cause-Fix Decision Tree
- Symptom: Accessory powers on but dims/flickers when engine revs or under heavy load.
- Cause: Undersized ground wire or high resistance at the chassis ground point.
- Fix: Measure voltage drop between the accessory ground casing and the battery negative terminal while under load. A reading above 0.1V indicates a bad ground. Sand the chassis contact point and upgrade the ground wire to match the power wire AWG.
- Symptom: Relay clicks rapidly or gets excessively hot.
- Cause: Voltage drop on the trigger circuit (Pin 86) or using a solid-state relay with incompatible LED polarity.
- Fix: Verify the Add-A-Circuit fuse tap is pulling from a true 12V ignition source, not a CAN-bus PWM (Pulse Width Modulated) circuit which fluctuates voltage. Use a standard 5-pin Bosch relay and ensure Pin 85 is grounded directly to the battery or a known clean chassis ground, not daisy-chained to the accessory ground.
- Symptom: Fuse blows immediately upon activation.
- Cause: Pinched wire causing a short to ground, or inrush current spike exceeding the ATC fuse rating.
- Fix: Inspect the firewall grommet routing. If the wire passes through metal, it must be protected by a rubber grommet and split loom. If inrush current is the culprit (common with large inverters or compressors), switch from a fast-blow ATC fuse to a slow-blow Maxi fuse or ANL fuse to accommodate the startup spike.
Conclusion and ROI Analysis
Investing in professional-grade tools and TXL/SXL wiring for your car electrical accessories increases the initial project cost by approximately $100 to $150 compared to generic kits. However, the return on investment is realized in system longevity, safety, and the elimination of parasitic draws and voltage-drop failures. By adhering to proper AWG sizing, utilizing ratcheting crimp tools, and executing rigorous voltage drop testing, you ensure your vehicle's electrical architecture remains robust and reliable in the harshest automotive environments.