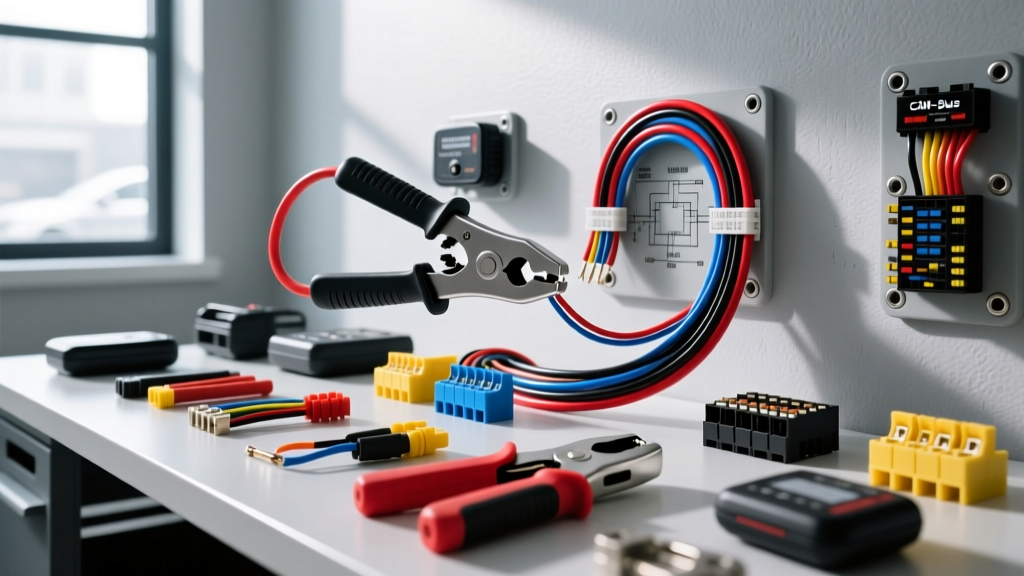
The Evolution of Remote Start Wiring Diagrams
Executing modern remote start wiring diagrams is no longer a simple exercise in tapping into 12V analog ignition circuits with quick-splice connectors. Today’s vehicles rely on multiplexed Controller Area Network (CAN-bus) architectures, LIN-bus data lines, and encrypted immobilizer transponders. A modern wiring diagram for a 2018+ Ford F-150 or a 2020+ Toyota Tacoma will feature a hybrid of high-current analog relays and ultra-sensitive data lines.
For custom installers and advanced DIYers, understanding the financial and tooling requirements to properly interpret and execute these diagrams is critical. A misinterpreted CAN-bus splice or an improper crimp on an ignition feed can result in parasitic battery drains, U-code network faults, or complete immobilizer lockouts. This analysis breaks down the true costs and professional-grade tooling required to turn a complex remote start wiring diagram into a reliable, field-tested installation.
Capital Expenditure: Module, Harness, and Flashing Costs
Before a single wire is stripped, the financial baseline of a remote start installation must be established. The days of universal analog relay boxes are over; modern systems require vehicle-specific firmware and data-to-data (D2D) integration.
| Component Category | Example Hardware | Estimated Cost (USD) | Diagram Relevance |
|---|---|---|---|
| CAN-Bus Bypass Module | Fortin EVO-ALL / iDatalink Maestro RR | $85.00 - $140.00 | Eliminates the need to manually wire immobilizer and door lock circuits shown on analog diagrams. |
| Vehicle T-Harness | THAR-T02 (Toyota) / THAR-F04 (Ford) | $25.00 - $45.00 | Plugs inline at the BCM/IGN harness, bypassing the need to cut OEM wires for ACC/IGN/START. |
| D2D Data Harness | 4-Pin Data Link Cable | $12.00 - $18.00 | Connects the remote start brain to the bypass module, carrying CAN-H, CAN-L, 12V, and Ground. |
| Flashing Tool & Subscription | ADS TBS20A / Fortin FLASH-IT | $60.00 (Hardware) + $5.00-$15.00 (Flash License) | Required to flash the specific VIN-locked firmware before wiring begins. |
| Safety & Analog Overrides | Hood Pin Switch, VALET Switch, Buzzer | $15.00 - $25.00 | Mandatory hardwired safety circuits explicitly detailed on page 1 of all installation diagrams. |
Note: Professional installers must factor in the recurring cost of flashing subscriptions. Platforms like iDatalink and Fortin charge per-VIN flash fees, which must be passed on to the consumer or absorbed into the shop's labor rate.
Essential Tooling for Diagram Execution
Reading a remote start wiring diagram is only half the battle; executing the physical connections without compromising the vehicle's electrical integrity requires specialized tooling. The Mobile Electronics Certification Program (MECP) strictly dictates that piercing probes and twist-and-tape methods are unacceptable for modern data lines.
Tool Investment Tiers
| Tool Type | Hobbyist Tier (Sub-Optimal) | Professional Tier (Required) | Why the Pro Tool Matters for Remote Starts |
|---|---|---|---|
| Wire Strippers | Standard auto-strippers ($15) | Knipex 12 62 180 Multi-Stripper ($75) | CAN-bus wires are often 20-22 AWG. Standard strippers nick the copper, increasing resistance and causing data packet loss. |
| Crimpers | Generic pliers ($10) | Engineer PA-09 or TE Connectivity Ratchet ($45-$150) | Ratcheting crimpers ensure a gas-tight seal on 16-18 AWG ignition splices, preventing voltage drop during the high-current starter crank cycle. |
| Multimeter | Basic DMM ($20) | Fluke 88V Automotive DMM with Back-Probes ($400) | Back-probes are mandatory for testing OBD2 CAN pins and BCM connectors without spreading or damaging the delicate OEM terminal pins. |
| Soldering Station | Butane Iron ($25) | Hakko FX-888D Digital Station ($110) | Temperature control prevents melting the thin insulation of multiplexed data wires when soldering analog 12V ignition feeds. |
Decoding the Diagram: CAN-Bus vs. 12V Analog Circuits
When you open a comprehensive remote start wiring diagram, you will encounter two distinct electrical domains. Understanding the physical requirements of each domain dictates your tool and material choices.
The CAN-Bus Domain (Data & Immobilizer)
Modern diagrams route the remote start module into the vehicle's High-Speed CAN network to request immobilizer bypass, read door status, and monitor tachometer data. According to the SAE J2284 standard for High-Speed CAN, these networks operate at 500 kbps and require strict physical layer integrity.
- OBD2 Pinout Reference: Pin 6 (CAN-High) and Pin 14 (CAN-Low).
- Wire Gauge: OEM harnesses typically use 20 AWG to 22 AWG for CAN lines. The installer must use 18 AWG or 20 AWG tinned copper for splices.
- The Twisted Pair Imperative: CAN-H and CAN-L rely on differential signaling. The diagram will often note a 'twisted pair' requirement. After splicing, the installer must maintain a minimum of 1 twist per inch up to the termination point to prevent electromagnetic interference (EMI) from the alternator or ignition coils.
- Connection Method: Soldering CAN-bus wires creates a rigid stress point that can snap under dashboard vibration. The industry standard is to use adhesive-lined, heat-shrink butt splices (e.g., 3M Highland or Molex) crimped with a ratcheting tool, preserving the wire's flex characteristics.
The 12V Analog Domain (Ignition & Starter)
Despite the data integration, the remote start module must still physically emulate the key cylinder's analog positions: ACC, IGN1, IGN2, and START (Crank).
- Wire Gauge Discrepancy: The remote start module's internal relays typically output 14 AWG or 16 AWG wires. However, the vehicle's ignition switch harness often utilizes 12 AWG or even 10 AWG wires to handle the 15A-20A load of the blower motor, ECU, and fuel pump.
- Step-Up Splicing: You cannot safely crimp 14 AWG to 10 AWG using a standard butt connector. The diagram requires a step-up splice using closed-end crimp caps filled with dielectric grease, or a high-temperature solder seal ring terminal paired with a secondary relay to handle the bulk current.
- Color Codes (D2D Standard): While analog wires vary by vehicle (e.g., Ford IGN1 is often Yellow/Light Green, Toyota IGN1 is Black/White), the D2D harness standardizes the data plug: Red (12V Constant), Black (Ground), Green (CAN-H), and White (CAN-L).
Hidden Costs: Troubleshooting Tool Deficits
Attempting to execute remote start wiring diagrams without the proper diagnostic tools leads to expensive failure modes. Consider the following real-world scenarios:
1. The Piercing Probe Failure (U-Codes)
An installer uses a cheap T-tap or piercing probe to tap into the CAN-Low wire (OBD2 Pin 14) because they lack micro-strippers. The probe severs three of the seven copper strands inside the 22 AWG wire and introduces oxidation. Six months later, the vehicle throws a U0140 (Lost Communication With Body Control Module) code, and the remote start shuts down. Cost to diagnose and repair the damaged OEM harness: $350+.
2. Voltage Drop on the Crank Circuit
The remote start diagram specifies connecting the Purple START wire to the vehicle's starter signal wire. The installer uses a non-ratcheting crimper, resulting in a loose mechanical connection. When the remote start triggers, the starter solenoid draws 25A. The poor crimp introduces a 1.5V drop, causing the remote start module's tach-sense circuit to misread the RPM, aborting the start sequence and leaving the vehicle stranded. Cost of a callback and warranty replacement: $150 in lost labor.
3. Parasitic Draw from Untwisted Data Lines
If the CAN-bus wires are extended without maintaining the twisted-pair geometry, the vehicle's gateway module may fail to enter 'sleep mode' after the remote start shuts down. The continuous polling of the network results in a parasitic draw of 400mA, killing the vehicle's 12V battery in 48 hours. Cost of a new AGM battery and diagnostic time: $450+.
Summary: Budgeting for Professional Execution
To successfully navigate and implement complex remote start wiring diagrams, an installer must view tools and hardware as an integrated system. A minimum investment of $250 in professional-grade stripping, crimping, and probing tools is mandatory to protect the $1,500+ electrical architecture of modern vehicles. By adhering to SAE data-bus standards, utilizing proper step-up splices for analog ignition feeds, and factoring in the recurring costs of VIN-specific module flashing, custom installers can deliver remote start systems that are as reliable as the OEM electronics they integrate with.
For further technical standards on automotive network topologies, refer to the Fortin Electronic Technologies installation archives and SAE International network protocols.