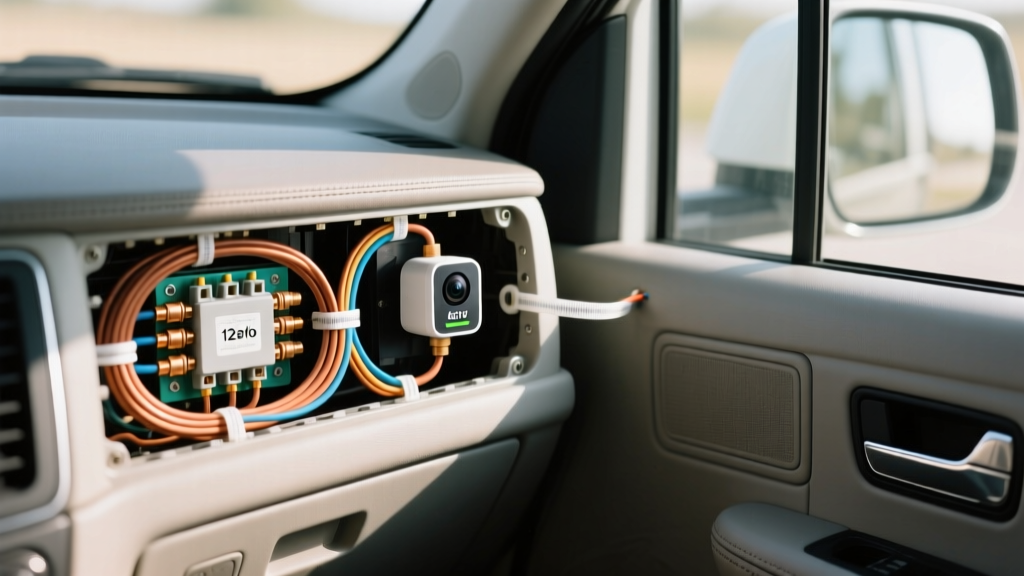
Introduction: The Case for Hardwiring Arlo in Automotive Environments
While Arlo cameras—specifically the Arlo Go (LTE) and Arlo Pro series—are engineered for residential security, they have become increasingly popular for aftermarket RV surveillance, fleet vehicle monitoring, and trailer theft deterrence. However, relying on internal lithium-ion batteries in automotive environments is a critical failure point. Cabin and exterior temperatures routinely cycle between -20°F and 140°F, causing battery swelling, capacity degradation, and eventual thermal failure. For continuous automotive integration, a hardwired Arlo camera installation utilizing a 12V DC to 5V DC step-down integration is mandatory.
This guide provides a comprehensive cost and tool requirements analysis for professional-grade automotive integration. We will break down the exact components, wire gauges, and diagnostic tools required to safely tap into a vehicle's electrical system without triggering parasitic draw issues or voiding OEM warranties.
Tool Requirements & Diagnostic Equipment
Executing a reliable 12V to 5V camera integration requires more than basic wire strippers. Automotive electrical systems are highly sensitive to voltage fluctuations and resistance. Using improper tools can lead to frayed stranded wire, increased resistance, and localized heat buildup.
Essential Wiring & Routing Tools
- Digital Multimeter (DMM): A True-RMS multimeter (e.g., Fluke 115 or 87V) is required to measure parasitic draw in milliamps (mA) and verify the 5V output of the buck converter under load.
- Wire Strippers & Crimpers: Ratcheting crimpers for insulated terminals and precision strippers calibrated for 18-22 AWG stranded wire to prevent nicking the copper strands.
- Trim Removal Kit: Nylon pry tools to safely remove A-pillar trims, dash panels, and headliners without snapping OEM push-clips or scratching interior plastics.
- Fish Tapes & Pull Strings: Fiberglass fish tapes for routing cables through factory rubber grommets and firewall pass-throughs.
- Soldering Station & Heat Shrink: A portable butane or lithium-ion soldering iron. All connections must be sealed with 3:1 adhesive-lined marine heat shrink to prevent corrosion from automotive humidity and condensation.
Component Cost Breakdown: DIY vs. Professional
The cost of an Arlo camera installation varies drastically depending on whether you source automotive-grade components or rely on cheap, non-compliant adapters. Below is a breakdown for a professional-grade DIY hardwire kit capable of supporting 24/7 fleet monitoring.
| Component | Technical Specification | Estimated Cost |
|---|---|---|
| DC-DC Buck Converter | 12V to 5V Step-Down, 3A Minimum Output | $14.50 |
| Fuse Tap (Add-A-Circuit) | Micro2 or ATO (Vehicle Dependent) w/ 5A Fuse | $8.00 |
| Primary Hookup Wire | 18 AWG GXL (SAE J1128 Compliant) | $16.00 |
| Low Voltage Disconnect (LVD) | 11.8V Cutoff Module (For 24/7 Surveillance) | $22.00 |
| Consumables & Fasteners | Tesa Harness Tape, 3:1 Heat Shrink, Zip Ties | $12.00 |
| Total DIY Material Cost | N/A | $72.50 |
| Professional Auto-Electrician | 2-3 Hours Labor + Shop Materials | $180 - $350 |
Technical Wiring Specifications: 12V to 5V Integration
Arlo cameras typically require a stable 5V DC input at 2A (10W peak) via USB-C, Micro-USB, or proprietary magnetic connectors. Automotive alternators output between 13.5V and 14.4V DC, while resting battery voltage sits at 12.6V. Feeding this directly into a 5V camera will instantly destroy the internal power management IC (PMIC).
Wire Gauge & Voltage Drop Analysis
Selecting the correct wire gauge is critical. According to SAE J1128 standards for Low Tension Primary Cable, wire insulation must withstand high temperatures and chemical exposure. Standard household THHN wire is strictly prohibited in automotive applications due to its rigid stranded core and non-chemical resistant PVC jacket. You must use cross-linked polyethylene (XLPE) insulated wire, commonly designated as GXL or TXL.
| AWG Size | Max Ampacity | Resistance (per 1000ft) | Voltage Drop @ 2A (10ft Run) |
|---|---|---|---|
| 18 AWG GXL | 6 Amps | 6.385 Ohms | 0.25V (Acceptable) |
| 16 AWG GXL | 10 Amps | 4.016 Ohms | 0.16V (Ideal for RVs) |
| 14 AWG GXL | 15 Amps | 2.525 Ohms | 0.10V (Overkill for 5V) |
For standard passenger vehicles, 18 AWG is perfectly adequate. For large Class A/C RVs or 53-foot commercial trailers where the wire run exceeds 15 feet, step up to 16 AWG to prevent voltage drop. If the voltage at the camera drops below 4.75V, the Arlo unit will enter a continuous boot loop or fail to initiate LTE transmission.
Buck Converter & Fuse Tap Pinout Configuration
When utilizing a Littelfuse Add-A-Circuit fuse tap, you must identify an accessory (ACC) circuit or a constant 12V circuit, depending on your use case.
- Ignition-Switched (ACC): Use this if the camera should only record while driving (e.g., dash-cam alternative). Tap into the radio or accessory power outlet fuse. Do not tap into safety-critical circuits like ABS, Airbags, or ECU modules.
- Constant 12V (Battery): Use this for 24/7 RV security. However, this requires a Low Voltage Disconnect (LVD) module wired in series on the 12V positive line to prevent the camera from draining the vehicle's starter battery below 11.8V.
Step-by-Step Installation & Routing Safety
1. Splicing the Power Delivery Cable
Arlo's proprietary magnetic cables or USB-C cables contain VBUS (5V), GND, and sometimes data lines (D+/D-) used for power negotiation. Cut the cable near the USB-A/USB-C block, strip the outer jacket, and identify the red (5V) and black (GND) wires. Solder the red wire to the 5V output of your DC-DC buck converter, and the black wire to the converter's ground. Seal with adhesive-lined heat shrink.
2. A-Pillar Routing & Airbag Clearance
When routing the 18 AWG wire from the dash fuse box up to the headliner, you must remove the A-pillar trim. Critical Safety Warning: Modern vehicles feature side-curtain airbags that deploy explosively along the A-pillar. Your camera wiring must be routed behind the airbag module and secured with Tesa harness tape to OEM wire looms. Never zip-tie camera wires across the deployment path of an SRS airbag, as this can turn the wire into a projectile during a collision.
3. Exterior Penetration & Sealing
If mounting the Arlo camera externally (e.g., on an RV awning or truck topper), drill a 3/8" hole through the metal or fiberglass substrate. Pass the wire through a marine-grade cable gland. Apply a generous bead of Dicor self-leveling lap sealant or marine-grade silicone over the gland to prevent water intrusion into the vehicle's interior cavity.
Troubleshooting Voltage Drop & Parasitic Draw
Even with a flawless installation, automotive electrical noise can disrupt sensitive IP cameras. If your Arlo camera exhibits random reboots, LTE dropouts, or fails to charge, consult this diagnostic tree:
- Symptom: Camera powers on but shows 'Not Charging' or boots endlessly.
Cause: Voltage drop across the 12V to 5V buck converter under peak LTE transmission load (Arlo Go can pull 2.5A spikes during cell tower handshakes).
Fix: Replace the standard 2A buck converter with a 3A or 5A rated module. Ensure the ground wire is terminated to bare, unpainted chassis metal using a ring terminal, not a plastic trim screw. - Symptom: Vehicle battery is dead after 48 hours of parking.
Cause: Parasitic draw exceeding 50mA on the constant 12V circuit.
Fix: Verify the Low Voltage Disconnect (LVD) module is functioning. Set your DMM to the 10A port, place it in series with the negative battery terminal, and wait 20 minutes for the vehicle's CAN-bus modules to enter sleep mode. If the draw remains above 0.05A (50mA), the LVD has failed or the buck converter possesses a high quiescent current draw. Swap to an LVD with a solid-state relay. - Symptom: Camera lens shows condensation or fogging.
Cause: Thermal shock and improper exterior sealing.
Fix: While not strictly electrical, ensure the camera's exterior housing is mounted with the drainage weep-holes facing downward. Apply dielectric grease to the USB-C or magnetic connector pins to prevent galvanic corrosion between the copper pins and the humid outdoor environment.
Conclusion
A professional-grade Arlo camera installation in an automotive or RV environment requires moving beyond simple plug-and-play USB adapters. By investing roughly $75 in SAE-compliant 18 AWG GXL wire, a high-amperage DC-DC buck converter, and a Low Voltage Disconnect module, you can achieve a robust, 24/7 fleet or RV security system that withstands extreme temperature cycles and alternator voltage spikes. Always prioritize OEM routing pathways and airbag safety clearances to ensure your aftermarket tech integration remains safe, reliable, and road-legal.