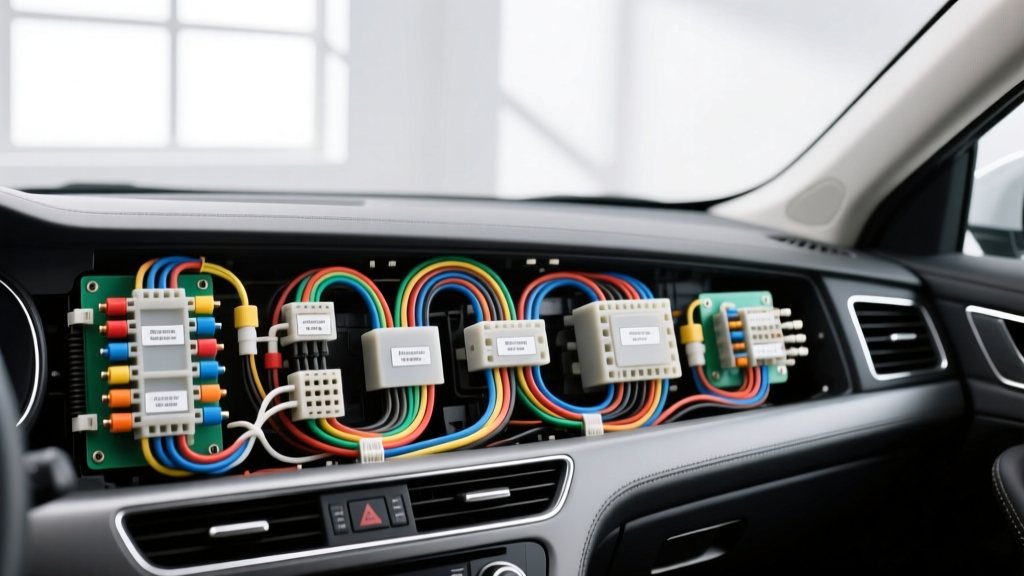
The True Cost of Mastering Automotive Wiring Schematics
Understanding how to read car electrical diagrams is the definitive dividing line between a parts-swapper and a true diagnostic technician. However, deciphering a 40-page power distribution schematic from a modern Ford F-150, or tracing a complex CAN-bus network on a Toyota Camry, requires more than just theoretical knowledge. It demands a serious capital investment in diagnostic software, precision testing equipment, and terminal repair kits. Many DIYers and novice technicians underestimate the financial barrier to entry for professional-grade electrical diagnosis. This comprehensive cost and tool requirements analysis breaks down exactly what you need to spend to read, trace, and repair automotive circuits correctly.
Software & Diagram Access: The Information Gateway
Before you can pick up a multimeter, you need the schematic. Modern vehicles contain upwards of 30 modules and miles of multiplexed wiring. Relying on free, low-resolution forum screenshots is a fast track to misdiagnosis. You need access to OEM-level power distribution, ground distribution, and module pinout charts.
Subscription Cost Breakdown
| Platform | Target User | Estimated Annual Cost | Diagram Quality & Features |
|---|---|---|---|
| ALLDATA DIY | Enthusiasts / DIY | $25 - $50 (per vehicle) | OEM factory diagrams, component locators, un-collapsed views. |
| Mitchell1 ProDemand | Professional Shops | $3,500 - $5,000+ | Color-coded, interactive schematics with integrated TSBs and waveform libraries. |
| OEM Portals (e.g., TechAuthority, Motorcraft) | Dealerships / Specialists | $1,500 - $3,000 | Raw factory service manuals, exact connector end-views, and splice pack locations. |
| Identifix / iATN | Diagnostic Techs | $1,200 - $1,800 | Community-driven fixes, known wire chafe points, and module failure patterns. |
For the serious home mechanic or independent tech, an ALLDATA DIY subscription is the most cost-effective entry point. It provides the exact factory wire color codes, splice locations, and connector end-views required to trace a circuit from the battery junction box to the final actuator.
Essential Diagnostic Hardware: Beyond the Test Light
Once you know how to read car electrical diagrams, you must physically test the circuit. The days of using a standard incandescent test light are over. Modern vehicles utilize sensitive solid-state drivers, multiplexed networks, and Supplemental Restraint Systems (SRS). A test light draws too much current and can instantly fry a $1,200 Body Control Module (BCM) or deploy an airbag.
The Digital Multimeter (DMM) Requirement
You must invest in an automotive-specific Digital Multimeter with a minimum 10-Megohm input impedance. Hardware store multimeters often have lower impedance or slow sampling rates, which will completely miss the 5-volt reference pulse on a Hall-effect crankshaft position sensor. According to Fluke Automotive diagnostic guidelines, a high-impedance DMM with MIN/MAX recording and duty cycle capabilities is non-negotiable for modern sensor diagnosis.
- Fluke 88V Automotive DMM: ~$450. The industry gold standard. Features millisecond pulse-width capture and RPM inductive pickups.
- Power Probe IV: ~$650. Allows you to inject power or ground directly into a circuit while monitoring voltage drop, effectively cutting diagnostic time in half.
- Standard Economy DMM: ~$40. Not recommended. Lacks the sampling speed to read 5V reference signals or PWM (Pulse Width Modulated) fan control circuits.
The Hidden Cost of Back-Probing: Breakout Boxes
When a schematic directs you to test an ECU pin, the worst mistake you can make is 'back-probing' the connector with a paperclip or thick probe. This spreads the delicate female terminal tangs inside the connector. The connection might test fine today, but road vibration will cause an intermittent open circuit next month, leading to a ghost misfire code (e.g., P0300). To prevent this, professionals use ECU Breakout Boxes (like the OTC 3491, costing around $160). These plug inline between the ECU and the harness, allowing safe, non-destructive testing of every single pin based on your wiring diagram.
Consumables & Wiring Repair: Doing It to OEM Standards
Reading a diagram often reveals that a specific circuit utilizes a specialized connector, such as a Delphi Metri-Pack 150 or a TE Connectivity AMP Superseal. Splicing a broken sensor wire with a twist-tie and electrical tape is a guaranteed failure. Proper repair requires matching the exact terminal, seal, and wire gauge.
Automotive Wire Insulation Standards
Never use standard PVC wire under the hood. PVC melts and becomes brittle at high temperatures. You must use cross-linked polyethylene wire that meets SAE J1128 specifications. GXL and TXL wire feature thin walls, allowing for smaller harness diameters and superior heat resistance up to 125°C (257°F).
| Wire Type | Insulation Material | Temp Rating | Wall Thickness | Best Application |
|---|---|---|---|---|
| GXL | Cross-Linked (XLPE) | 125°C | Thin | General under-hood engine wiring, sensor pigtails. |
| TXL | Cross-Linked (XLPE) | 125°C | Extra Thin | Tight spaces, ECU harness rebuilding, low-current signals. |
| SXL | Cross-Linked (XLPE) | 125°C | Standard | High-abrasion areas, battery cables, heavy power feeds. |
| PVC (GPT) | Polyvinyl Chloride | 90°C | Thick | Interior cabin wiring only. Avoid in engine bays. |
Connector & Crimping Investment
To properly repair the circuits you diagnose, you need a master connector kit and specialized crimpers. Standard pliers will not create a gas-tight crimp on a micro-terminal.
- Delphi Metri-Pack 150/280/630 Master Kit: ~$120. Covers 90% of standard GM/Chrysler sensors and injectors.
- TE Connectivity AMP Superseal 1.5 Kit: ~$80. Essential for European and modern Asian waterproof ECU connectors.
- HHC (Hoffman & Hoffman) Ratcheting Crimper: ~$180. Ensures the exact factory-spec crimp profile on 18 AWG to 10 AWG terminals, preventing moisture intrusion and voltage drop.
Real-World Application: Tracing a CAN-Bus Fault
Let us apply the tool investment to a real-world scenario. You pull a U0100 (Lost Communication with ECM) code. You open your ALLDATA subscription and look at the Data Link Connector (DLC) schematic. The diagram shows that Pin 6 is CAN-High and Pin 14 is CAN-Low.
Using your Fluke 88V, you set the meter to Ohms. With the battery disconnected, you probe Pins 6 and 14. The diagram dictates that the network should have two 120-ohm terminating resistors in parallel. Therefore, your meter must read exactly 60 ohms. If you read 120 ohms, one of the modules has dropped off the network or a wire is broken. If you read 0 ohms, the CAN-H and CAN-L wires are shorted together. Without the $50 diagram subscription and the $450 multimeter, you would be blindly replacing the ECM—a $900 mistake. This is the ROI of investing in the correct diagnostic ecosystem.
Summary: The ROI of Electrical Diagnosis
Learning how to read car electrical diagrams is an intellectual pursuit, but executing the repairs is a financial one. A professional setup (Mitchell1, Fluke 88V, Breakout Boxes, and TE Crimpers) requires an initial investment of roughly $5,000 to $7,000. For a dedicated DIYer, a scaled-down approach using ALLDATA DIY, a high-quality mid-tier DMM ($150), and a basic Metri-Pack terminal kit will cost around $400. In either case, the cost of proper tools is always lower than the cost of replacing parts based on guesswork.