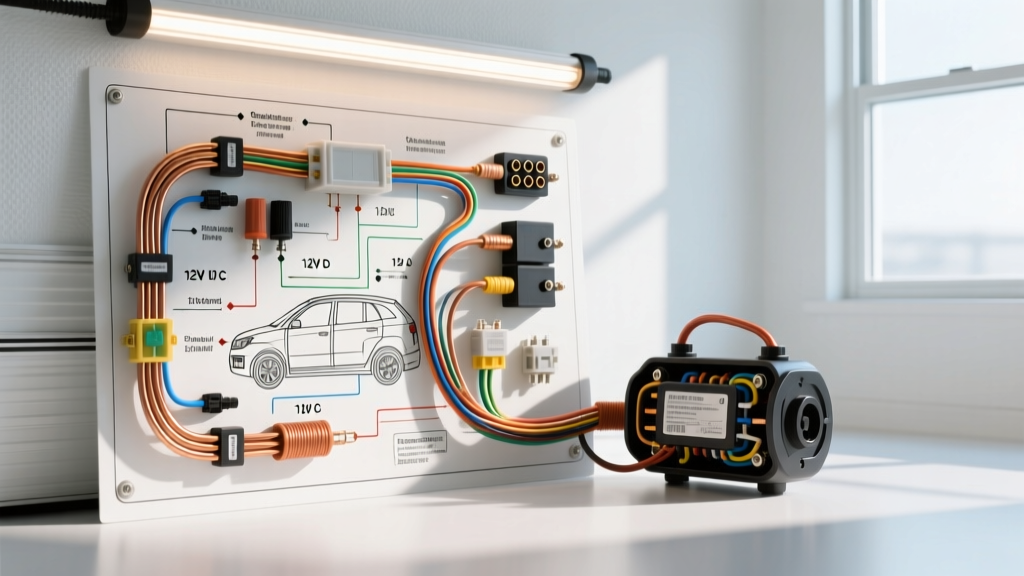
The 120V AC vs. 12V DC Conflict in Vehicle Builds
As the DIY van conversion and RV camper market explodes, a dangerous trend has emerged in automotive electrical forums. Enthusiasts building out the living quarters of a Sprinter, Transit, or custom trailer frequently search for a wiring diagram for house lights to plan their interior illumination. The problem? Search engines overwhelmingly return 120V AC residential schematics governed by the National Electrical Code (NEC), not 12V DC automotive systems governed by SAE standards and NFPA 1192 RV fire safety codes.
Applying residential logic to a vehicle's 12V DC chassis is a fast track to catastrophic voltage drop, melted insulation, and electrical fires. A house operates on high voltage and low amperage; a 12V camper lighting system operates on low voltage and high amperage. This fundamental difference dictates entirely different tool requirements, material costs, and wiring schematics. Below, we break down the cost and tool requirements analysis to prove why automotive-grade components are non-negotiable for your rig.
Cost Analysis: Automotive Wiring vs. Residential House Lights
Many DIYers attempt to use residential Romex (NM-B) wire and wire nuts because they are cheaper and readily available at big-box hardware stores. However, NM-B wire features solid copper cores that easily snap under the constant vibration of a moving vehicle. Furthermore, its PVC insulation is rated for stationary ambient temperatures, not the high-heat zones near a vehicle's engine bay or wheel wells.
Automotive wire, specifically SAE J1128 GXL or TXL, uses stranded copper for flexibility and cross-linked polyethylene (XLPE) insulation that withstands temperatures up to 150°C (302°F) while resisting battery acid and oil. Here is a cost breakdown comparing a standard 4-light camper ceiling circuit using residential vs. automotive standards.
| Component | Residential (120V AC) | Automotive (12V DC) | Cost Delta |
|---|---|---|---|
| Primary Wire (50 ft) | 14 AWG NM-B Romex ($0.45/ft) | 12 AWG SAE GXL Stranded ($0.85/ft) | +88% (Automotive) |
| Connectors (10 pack) | Plastic Wire Nuts ($0.08/ea) | Marine Heat-Shrink Butt Crimps ($0.65/ea) | +712% (Automotive) |
| Circuit Protection | 15A Home Breaker ($5.00) | Blue Sea Systems ATO Fuse Block ($38.00) | +660% (Automotive) |
| Total Material Cost | ~$30.00 | ~$88.00 | +193% (Automotive) |
Source: Material costs based on bulk automotive suppliers and standard retail hardware pricing. For safety standards, refer to the NFPA 1192 Standard on Recreational Vehicles.
While the automotive route costs nearly three times as much upfront, the cost of replacing melted wire looms or diagnosing a parasitic draw caused by vibrating wire nuts makes SAE-grade materials the only logical choice for a mobile platform.
Tool Requirements: What You Actually Need for 12V DC Diagrams
If you are adapting an automotive lighting schematic, you cannot rely on a standard residential wire stripper and a pair of pliers. 12V DC systems require gas-tight, vibration-proof connections. The tooling investment for a proper automotive lighting harness is specific and mandatory.
- Ratcheting Wire Crimper (AWG 22-10): Unlike residential wire nuts, automotive crimps must be deformed with exact pressure to ensure a gas-tight seal. A ratcheting crimper ensures the terminal is fully compressed before releasing.
- Heat Gun with Reflector Nozzle: Adhesive-lined marine heat shrink is required for all splices. The heat shrink melts an inner layer of sealant that prevents moisture and galvanic corrosion from infiltrating the copper strands.
- Digital Multimeter with Milliohm Setting: In a 12V system, a poor ground connection can cause a 0.5V drop, which is enough to cause LED camper lights to flicker or fail to trigger a relay.
- Deutsch DT Crimp Tool (If using auxiliary exterior lights): For exterior porch lights or awning lights exposed to the elements, standard spade terminals will corrode. Deutsch connectors provide a silicone-sealed, weatherproof mating surface.
Automotive 12V Lighting Schematic: Relay Pinouts and Wire Specs
A proper automotive wiring diagram for house lights in a camper does not route the high-amperage load through the cabin switch. Instead, it uses a standard Bosch-style 5-pin relay to isolate the low-amperage switch circuit from the high-amperage lighting load. This prevents the switch from melting and allows for smaller gauge wire to be routed through the cabin's living space.
Standard 40A Bosch Relay Pin Configuration
| Pin Number | Function | Recommended Wire Gauge | Standard OEM Color Code |
|---|---|---|---|
| Pin 30 | 12V+ Constant Battery Feed (from Fuse Block) | 10 AWG | Red |
| Pin 87 | Normally Open (NO) Output to LED Lights | 12 AWG | Red |
| Pin 86 | Trigger Input from Cabin Wall Switch | 18 AWG | Yellow |
| Pin 85 | Relay Coil Ground | 18 AWG | Black |
| Pin 87a | Normally Closed (NC) - Unused in standard lighting | N/A (Tape off) | N/A |
By utilizing this relay schematic, your wall switch only carries the fractional amperage required to energize the relay coil (typically under 150mA), allowing you to safely route 18 AWG wire through tight cabinetry and aluminum extrusions without risking a short circuit.
Voltage Drop: The Hidden Cost of Bad Diagrams
The most critical failure point when applying residential logic to a 12V automotive system is ignoring voltage drop. In a 120V AC house, pushing 10 amps through 50 feet of 14 AWG wire results in a negligible voltage drop. In a 12V DC camper system, pushing 10 amps through 50 feet of 14 AWG wire results in a massive voltage drop that will severely dim your LED lights and potentially damage sensitive drivers.
According to the Blue Sea Systems Voltage Drop Tables, a 12V circuit should never exceed a 3% voltage drop (0.36V). To achieve this over a 20-foot round-trip run drawing 8 amps (typical for a 4-light LED camper array), you must step up to 10 AWG wire, not the 14 AWG typically suggested in residential house light diagrams. For deep-dive specifications on wire insulation and strand counts, refer to the SAE International J1128 standard for low-tension primary cable.
Real-World Failure Modes to Avoid
When technicians at RV service centers pull panels on failed camper lighting systems, they consistently find the same issues stemming from residential-style wiring:
- Wire Nut Arcing: The constant harmonic vibration of a diesel chassis causes solid-core wire nuts to back off. This creates an air gap, leading to high-resistance arcing, melted plastic, and eventual 12V fires.
- Chassis Grounding Corrosion: Residential diagrams rely on a dedicated neutral wire. Automotive diagrams rely on the steel chassis as a ground return path. If you ground your camper lights to bare steel without using a proper ring terminal and star washer to bite through the paint, you will experience intermittent lighting failures as the chassis flexes.
- Undersized Fusing: Using a 15A home breaker on a 12V system is impossible. You must use an ATO/ATC blade fuse block sized exactly to the wire gauge (e.g., a 15A fuse for 14 AWG wire) to protect the wire loom, not just the device.
Ultimately, building a camper or RV requires a complete paradigm shift from residential electrical work. Discard the house light schematics, invest in SAE-rated GXL wire, ratcheting crimpers, and proper Bosch relay diagrams to ensure your mobile lighting system is safe, bright, and built to survive the road.