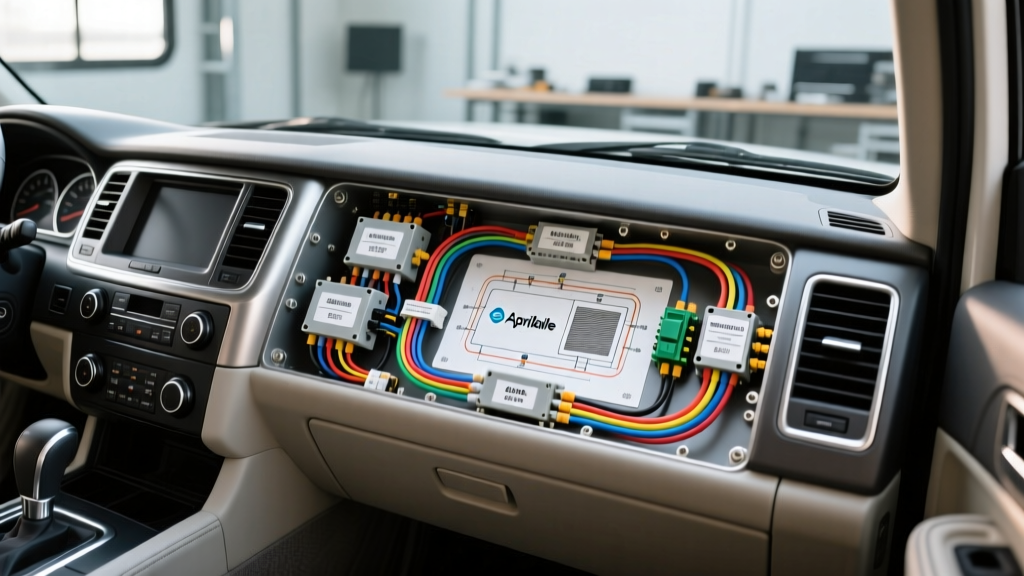
Integrating Residential Climate Control in Custom Motorhomes and Sleeper Cabs
As the demand for luxury Class A diesel pushers, expedition vehicles (like EarthRoamer), and custom heavy-duty truck sleeper cabs continues to grow, so does the integration of residential-style HVAC systems. Maintaining proper cabin humidity during dry winter boondocking or arid highway transit is critical to preventing interior woodwork, leather upholstery, and cabinetry from cracking. The Aprilaire 600 bypass humidifier is a top-tier choice for these custom mobile applications due to its reliability and lack of an internal fan, relying instead on the existing residential air handler blower.
However, adapting a residential 24V AC humidistat and solenoid system to a mobile 12V/24V DC chassis and 120V AC inverter environment requires strict adherence to mobile electrical standards. This practical how-to installation guide and wiring diagram for Aprilaire 600 systems will walk you through the exact wire gauges, pinouts, and inverter requirements necessary for a safe, vibration-resistant mobile installation.
Electrical Architecture: How the Aprilaire 600 Operates in a Vehicle
Unlike the Aprilaire 700 series, which features a built-in 120V AC fan, the Aprilaire 600 is a pure bypass humidifier. This makes it highly desirable for RV and sleeper cab applications because it eliminates the need to route high-voltage 120V AC lines to the humidifier unit itself, reducing electromagnetic interference (EMI) and fire risks in tight cabin cavities.
The electrical footprint of the Aprilaire 600 consists of two main components:
- The Humidistat (Control): Typically the Model 4655 (Manual) or Model 60 (Automatic). In mobile applications, the manual humidistat is heavily preferred to prevent erratic cycling caused by rapidly changing outdoor climates during transit.
- The Water Solenoid Valve: A 24V AC, 50/60Hz valve that draws approximately 0.6 Amps (roughly 14.4 VA) to open the water line when the humidistat calls for moisture.
Because the vehicle lacks a standard residential furnace transformer, the 24V AC power must be sourced from the residential air handler's control board transformer, which is in turn powered by the vehicle's Pure Sine Wave (PSW) inverter system.
Step-by-Step Installation: Wiring Diagram for Aprilaire 600
Before beginning, ensure the vehicle's main battery disconnect is engaged and the inverter is completely isolated. According to RVIA NFPA 1192 Electrical Standards, all 120V AC and low-voltage control wiring must be routed separately to prevent signal interference and inductive heating.
Step 1: Sourcing 24V AC Power from the Air Handler
Locate the 24V AC transformer on your RV or sleeper cab's residential air handler (e.g., Coleman Mach or Dometic residential units). Verify the transformer is rated for at least 40VA. The Aprilaire 600 solenoid will consume roughly 15VA; ensure the existing HVAC control board and contactor do not exceed the transformer's remaining capacity.
Step 2: Routing the Control Wire
Use 18 AWG stranded copper thermostat wire (CL2 rated). Stranded copper is mandatory in mobile environments; solid core wire will suffer from metal fatigue and snap due to constant highway vibration and chassis flex. Route the wire from the air handler's 24V transformer terminals through the cabin bulkhead, using a marine-grade rubber grommet and silicone sealant to prevent carbon monoxide intrusion from the engine bay or generator compartment.
Step 3: Humidistat Placement and Termination
Mount the manual humidistat in the main living area or sleeper berth, away from direct sunlight, LED lighting heat sinks, or exterior draft points. Strip the 18 AWG wires and terminate them using WAGO 221 lever nuts or crimped ferrules. Lever nuts are highly recommended in mobile applications as they maintain constant tension on stranded wire, preventing loosening during transit.
Step 4: Wiring the Solenoid Valve
Connect the two 18 AWG wires from the humidistat directly to the two spade terminals on the Aprilaire 600 water solenoid valve. Polarity does not matter on the 24V AC solenoid. Secure the spade connectors with a dab of dielectric grease to prevent corrosion from ambient cabin humidity, and ensure the connection is tight to prevent arcing.
Wire Color Codes, AWG Specs, and Terminal Pinout Table
The following table outlines the standard wiring specifications for integrating the Aprilaire 600 into a mobile 120V/24V AC inverter-based HVAC system.
| Component / Circuit | Wire Gauge (AWG) | Standard Color Code | Connection Type | Mobile Spec Notes |
|---|---|---|---|---|
| Inverter to Air Handler (120V AC) | 14 AWG Stranded | Black (Hot), White (Neutral), Green (Ground) | Ring Terminal / WAGO | Must be Pure Sine Wave. Use star washers on ring terminals. |
| Transformer to Humidistat (24V AC) | 18 AWG Stranded (2-conductor) | Red (24V Hot), White (Common) | Ferrule / Lever Nut | CL2 rated jacket. Do not run parallel to 120V AC lines. |
| Humidistat to Solenoid (24V AC) | 18 AWG Stranded (2-conductor) | Red (Call), White (Return) | 1/4-inch Female Spade | Apply dielectric grease to spades to prevent oxidation. |
| Solenoid Valve Rating | N/A | N/A | N/A | 24V AC, 50/60Hz, ~0.6A draw. Requires 15VA minimum. |
Crucial Mobile Considerations: Inverters and Voltage Drop
The most common point of failure when adapting residential HVAC components for RVs and truck sleepers is the inverter topology. The 24V AC transformer powering the Aprilaire 600 requires a Pure Sine Wave (PSW) inverter.
If your vehicle utilizes a Modified Sine Wave (MSW) inverter, the square-wave harmonics will cause the 24V transformer to overheat, emit a loud buzzing noise, and eventually fail. Furthermore, MSW power will cause the Aprilaire solenoid valve to 'chatter' rapidly, leading to premature mechanical failure of the valve diaphragm and potential water flooding in the vehicle's underbelly or sleeper cab flooring. Always verify your inverter output with an oscilloscope or a high-end multimeter capable of measuring Total Harmonic Distortion (THD) before energizing the HVAC control board.
Diagnostic Troubleshooting for Mobile HVAC Systems
When troubleshooting the Aprilaire 600 in a mobile environment, you must account for voltage drop over long wire runs typical in Class A motorhomes and extended sleeper cabs.
- Symptom: Humidistat calls for moisture, but solenoid does not click open.
Fix: Check for voltage drop across the 18 AWG wire run. If the run exceeds 30 feet, the voltage may drop below the 18V AC threshold required to actuate the solenoid coil. Upgrade to 16 AWG stranded wire for long mobile runs. - Symptom: Solenoid chatters or hums loudly without opening fully.
Fix: This is almost exclusively caused by a Modified Sine Wave inverter or a failing 24V transformer. Verify the inverter is outputting a clean Pure Sine Wave. Inspect the transformer secondary terminals for loose connections caused by chassis vibration. - Symptom: Water valve remains open, causing continuous water flow.
Fix: Debris from the vehicle's fresh water tank or PEX plumbing lines may be lodged in the solenoid orifice. Install a 100-mesh inline sediment filter on the 1/4-inch water supply line upstream of the humidifier to protect the valve from RV water system particulates.
For comprehensive reference on the factory specifications and physical mounting templates, always consult the Aprilaire Official Product Manuals & Installation Guides to ensure the bypass ducting is properly sealed against the vehicle's interior cabinetry.
Final System Verification
Once the wiring diagram for Aprilaire 600 integration is complete, perform a live road test. Run the vehicle's HVAC blower on high, engage the inverter, and turn the humidistat dial to maximum. Verify that the solenoid opens cleanly and that water flows evenly over the water panel. Monitor the 24V transformer temperature after 30 minutes of continuous operation to ensure it remains within safe thermal limits for enclosed RV cabinetry spaces.