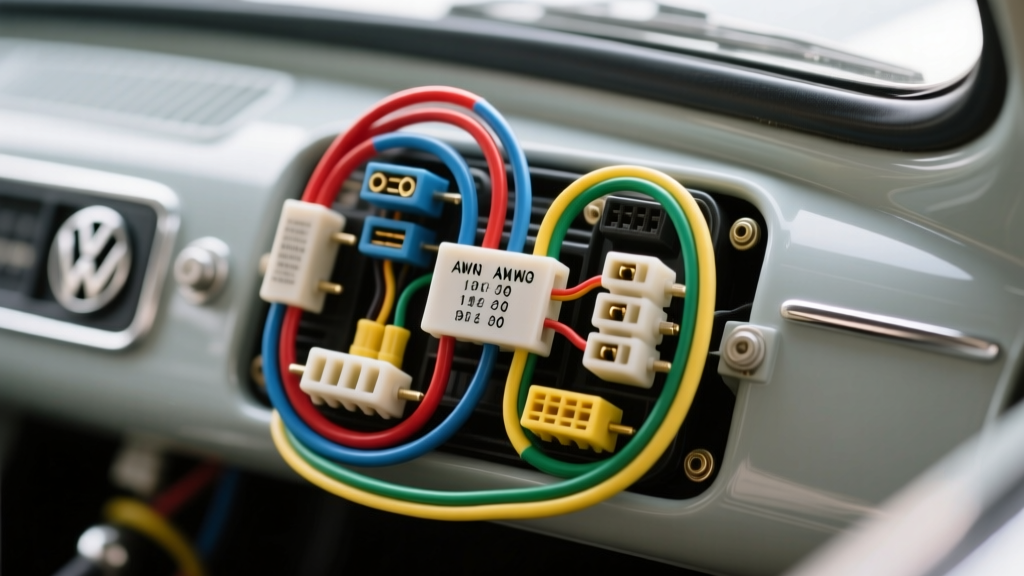
Introduction to Air-Cooled Electrical Fundamentals
For any aspiring automotive electrician or weekend mechanic, the classic Volkswagen Beetle wiring harness represents the ultimate training ground. Unlike modern vehicles burdened with CAN-bus networks, multiplexed sensors, and fiber optics, the air-cooled VW (specifically the 1967–1979 12-volt models) relies on a straightforward, color-coded, point-to-point 12V DC system. Understanding how to diagnose, repair, or completely replace a Volkswagen Beetle wiring harness builds the foundational skills necessary to tackle far more complex modern harness kits, LS swap adapters, and custom engine bay fabrications.
In this beginner-friendly guide, we will break down the anatomy of the classic VW harness, decode the German DIN color standards, outline proper AWG wire sizing, and provide a step-by-step roadmap for pulling a new main harness through the central chassis tunnel. Whether you are restoring a 1971 Super Beetle or troubleshooting a dimming headlight issue on a 1968 standard model, mastering these fundamentals is your first step toward automotive electrical proficiency.
The Anatomy of the Classic VW Harness Layout
The classic Beetle harness is divided into three primary sub-sections that meet at the central chassis tunnel (often referred to as the 'spine'). Understanding this physical layout is critical before you order a replacement harness kit or begin cutting into your existing loom.
- Front Trunk Harness: Routes from the battery positive terminal to the fuse box, headlight switch, turn signal flasher relay, and front lighting buckets. This section handles the highest amperage loads outside of the starter motor.
- Dash and Cabin Harness: Connects the ignition switch, wiper motor, heater blower fan, and instrument cluster illumination. This section is highly susceptible to wear due to steering column movement and dash removal.
- Rear Engine Bay Harness: Travels through the central tunnel to the rear of the vehicle, powering the ignition coil, generator/alternator, voltage regulator, reverse lights, and tail lights.
According to the Bentley Publishers VW Service Manual, the main harness is wrapped in a protective PVC or cloth loom and must pass through a rubber grommet at both the front and rear firewall entry points to prevent chafing against the sharp metal edges of the chassis spine.
DIN 72552 Terminal Codes and VW Color Standards
One of the most confusing aspects for beginners working on European vehicles is the shift from American wire color conventions to the German DIN 72552 standard. In a Volkswagen Beetle wiring harness, wire colors and terminal numbers dictate the circuit's function, regardless of the vehicle's year.
| DIN Terminal | Function | VW Wire Color Code | Common Application |
|---|---|---|---|
| 30 | Battery Positive (Hot at all times) | Red (Ro) | Battery to fuse box, starter feed |
| 15 | Ignition Switched Power | Black (Sw) or Red/White | Ignition coil (+), wiper motor, radio |
| 31 | Ground / Earth Return | Brown (Br) or Black (Sw) | All component grounds, chassis straps |
| 50 | Starter Motor Control | Red/Black or Black/Yellow | Ignition switch to starter solenoid |
| 56 | Headlight Switch Output | White (Ws) | Headlight dimmer switch feed |
| 49 / 49a | Turn Signal Flasher Relay | Green (Gn) / Green-Black | Flasher relay to turn signal stalk |
Note: Early 6-volt Beetles (pre-1967) utilized different color codes and smaller wire gauges. This guide focuses strictly on the 12-volt systems introduced in 1967, which are the most common candidates for modern harness replacement kits.
Wire Gauge (AWG) Selection and SAE Standards
When repairing a damaged section of your Volkswagen Beetle wiring harness or building a custom adapter, you must select the correct American Wire Gauge (AWG) to prevent voltage drop and potential electrical fires. The SAE J1128 standard dictates the minimum requirements for low-tension primary automotive cables, including insulation temperature ratings and copper stranding counts.
| Circuit Type | Recommended AWG | Max Amperage (12V) | Insulation Temp Rating |
|---|---|---|---|
| Battery to Starter / Main Feed | 4 AWG or 2 AWG | 150A+ | 125°C (Engine Bay) |
| Headlights & High Amp Accessories | 12 AWG or 14 AWG | 15A - 20A | 105°C (Front Trunk) |
| Ignition, Wipers, Horn | 14 AWG or 16 AWG | 10A - 15A | 105°C (Cabin) |
| Dash Illumination, Sensors | 18 AWG | 5A - 7A | 105°C (Cabin) |
Always use stranded copper wire, never solid core. Solid core wire will fracture and break under the constant vibration inherent to an air-cooled VW chassis.
Step-by-Step Harness Removal and Installation
Replacing the main harness is a rite of passage for VW restorers. Follow these steps to ensure a clean, factory-correct installation without pinching or tearing the new loom.
- Disconnect and Document: Remove the negative battery terminal. Before removing any wires, take high-resolution photos of the fuse box, ignition switch terminals, and voltage regulator connections. Use masking tape and a fine-tip marker to label every connector.
- Extract the Old Spine Loom: Remove the rear seat cushion and the cardboard access panel covering the central tunnel. Unclip the metal retaining tabs that hold the harness to the chassis. Gently pull the old harness out from the front trunk area.
- Prep the Tunnel: Vacuum the central spine. Inspect the rubber grommets at the front and rear firewall entry points. Replace any cracked or dry-rotted grommets; failure to do so will cause the new harness to chafe against the bare metal, leading to a dead short.
- Pull the New Harness: Attach a flexible fiberglass fish tape to the front trunk end of your new Volkswagen Beetle wiring harness. Wrap the connection tightly in electrical tape to create a smooth, snag-free bullet shape. Feed the fish tape from the rear to the front, then gently pull the harness through. Never pull by the wires themselves; always pull by the main loom wrapping.
- Apply Dielectric Grease: Before plugging in multi-pin connectors (like the taillight harness plug or the ignition switch block), apply a small amount of dielectric grease to the male terminals to prevent moisture ingress and copper oxidation.
Common Beginner Mistakes and Troubleshooting
Even with a brand-new OEM-style replacement harness, beginners often encounter electrical gremlins. Here are the most common failure modes and how to fix them:
The Headlight Ground Backfeed
The classic Beetle does not use a dedicated ground wire for the front headlights. Instead, the headlight bulbs ground through the metal reflector bucket, into the front fender, and through the fender mounting bolts to the chassis. If your fenders are freshly painted or the bolts are rusted, the headlights will seek a ground through the dash illumination circuit, causing all dash lights to glow dimly when the headlights are turned on. The Fix: Solder a dedicated 14 AWG brown ground wire to the headlight bucket and route it directly to a clean, bare-metal chassis grounding point.
Ceramic Torpedo Fuse Confusion
Classic 12V VWs use ceramic torpedo fuses. However, European ceramic fuses operate on a different rating scale than American glass fuses. A white VW ceramic fuse is rated for 16 Amps, while a red one is rated for 8 Amps. Never substitute a standard 15A American glass fuse into a modified VW fuse block without verifying the continuous load, as the contact points on Euro fuses are designed to dissipate heat differently.
Ignition Switch Overload
In the factory design, all power for the headlights and wipers routes directly through the ignition switch and the lighting switch on the dash. Over decades, the internal copper contacts wear down, creating high resistance, extreme heat, and eventually melted plastic housings. If your dash lighting switch is hot to the touch, you must install a 30-amp Bosch-style relay kit to bypass the dash switch, using the switch only as a low-amperage trigger signal.
Upgrading to an Aftermarket Universal Harness Kit
If your original harness is suffering from severe PVC dry-rot, green copper corrosion (verdigris), or previous owner 'hacks' involving electrical tape and household wire, it is time for a complete replacement. While OEM-style reproduction harnesses are available, many hot-rodders and custom builders opt for universal aftermarket harness kits from manufacturers like Painless Performance or Watson's StreetWorks.
When adapting a universal harness to a VW Beetle, you must reconfigure the fuse block location. Most universal kits place the fuse block in the engine bay, but on a rear-engine VW, the battery and primary electrical loads are in the front trunk. You will need to mount the aftermarket fuse block in the front trunk near the battery, and run a heavy-duty 4 AWG marine-grade tinned copper wire from the starter solenoid (Terminal 30) all the way through the chassis tunnel to the front fuse block main feed.
For more community-tested routing tips and custom relay diagrams, the Aircooled.net Electrical Archive remains an invaluable resource for adapting modern fused circuits to vintage air-cooled chassis. By mastering the fundamentals of the Volkswagen Beetle wiring harness, you develop the diagnostic logic and fabrication skills required to conquer any automotive electrical project, from simple OEM restorations to complex modern engine swap adapters.