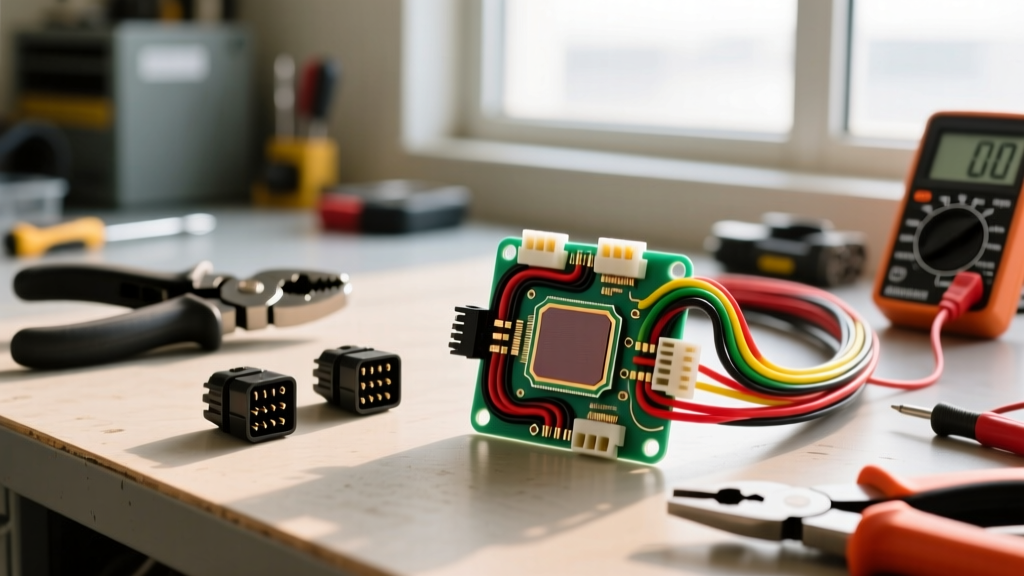
The Cam Sensor Harness Failure Point: GM 5.3L Vortec Analysis
The camshaft position sensor (CMP) is a critical Hall-effect device that synchronizes fuel injection and ignition timing. On GM 5.3L Vortec and LS-based truck engines (LC9, LMG, L59), the cam sensor wiring harness is notorious for a specific, recurring failure: chafing against the rear of the passenger-side cylinder head or the oil pressure sensor bracket. This friction eventually wears through the wire loom and insulation, causing a short-to-ground on the 12V reference circuit. The result is often a blown PCM fuse, a P0341 (Camshaft Position Sensor Circuit Range/Performance) diagnostic trouble code, or an extended crank condition.
When diagnosing this issue, technicians and DIYers face a critical decision: splice in a replacement pigtail, or replace the entire engine harness section? This analysis breaks down the exact costs, tool requirements, and technical specifications needed to execute a permanent, OEM-grade repair.
Diagnostic Tool Requirements
Before spending money on harness parts, you must verify the harness is the actual failure point. A failing sensor and a shorted harness can both trigger a P0341 code. Throwing parts at the vehicle without electrical verification is a primary cause of wasted repair budgets.
Essential Diagnostic Equipment
- Digital Multimeter (DMM): Required for checking the 12V reference (Pink wire) and ground continuity (Black wire). A basic automotive DMM with a 10M-ohm impedance is sufficient. (Cost: $40 - $150)
- Automotive Oscilloscope: The gold standard for CMP diagnosis. A 2-channel scope allows you to view the 12V square wave signal while back-probing the connector. According to Pico Technology's waveform library, a healthy GM LS cam sensor will show a crisp 12V high and a ~0.2V low. Intermittent harness chafing will manifest as erratic voltage dropouts or high-frequency noise on the signal trace before the wire fully shorts. (Cost: $150 for USB scopes up to $450 for professional 4-channel units)
- Breakout Box / Back-Probes: Essential for piercing the wire seal without damaging the Aptiv Metri-Pack terminal. (Cost: $15 - $30)
Repair Strategy 1: OEM Pigtail Splicing (The Cost-Effective Route)
If the damage is localized to the last 6 to 12 inches of the harness near the sensor connector, splicing in an OEM-style pigtail is the most economical and common repair. However, doing this correctly requires specific crimping tools to meet automotive vibration standards.
Required Tools for Splicing
Standard hardware store crimpers will destroy Metri-Pack terminals. You must use a tool designed for the specific terminal geometry.
- Aptiv Metri-Pack 150 Crimper: The GM cam sensor uses a 3-way Metri-Pack 150 series connector. You need a crimper with dual dies (one for the conductor, one for the insulation tab). Tools like the SGT Tool or Hozan P-707 are industry standards. (Cost: $45 - $120)
- Precision Wire Strippers: For 20 AWG (0.5 mm²) wire, you need strippers that will not nick the copper strands. Nicking reduces the cross-sectional area and creates a localized hot spot. (Cost: $25 - $40)
- Adhesive-Lined Heat Shrink: Standard PVC heat shrink will eventually wick moisture into the splice via capillary action. You must use dual-wall, polyolefin heat shrink with an inner melamine adhesive lining. When heated, the adhesive melts and seals the wire strands. 3M or Raychem 1/8-inch (3.2mm) 3:1 shrink ratio is required. (Cost: $15 per spool)
The Expert Splicing Technique
Never twist wires together and solder them in an engine harness. Solder creates a rigid joint that will fatigue and snap under engine vibration. Instead, use a staggered Western Union splice with open-barrel crimps or high-quality butt splices.
- Cut the damaged harness back to clean, supple wire (usually 4-6 inches away from the sensor).
- Strip 3/16" of insulation from the existing harness wires and the new pigtail wires.
- Stagger the cuts: Cut the Pink wire at 4 inches, the Brown wire at 5 inches, and the Black wire at 6 inches. This ensures the bulky crimp joints do not stack on top of each other, maintaining harness flexibility and allowing heat shrink to seal properly.
- Crimp using the Metri-Pack dies, ensuring the wire brush is visible just past the conductor crimp, and the insulation tabs fully encapsulate the wire jacket.
- Slide the adhesive heat shrink over the joint and apply heat from the center outward until the adhesive purges slightly from the ends.
Repair Strategy 2: Full Harness Section Protection
If the harness is brittle from heat exposure, or if the chafing extends deep into the main engine loom, a pigtail will not suffice. You must re-wrap and protect the existing harness.
Materials & Tools for Looming
- Tesa 51036 PET Cloth Tape: This is the OEM standard for engine bay wiring. Unlike vinyl electrical tape, which turns into a sticky mess under hood temperatures, PET (Polyethylene Terephthalate) cloth tape withstands continuous 150°C (302°F) heat and resists abrasion. (Cost: $12 - $18 per roll)
- Split Loom & Zip Ties: Use 1/4" or 3/8" nylon split loom for the main trunk, secured with UV-resistant cable ties spaced every 6 inches. (Cost: $20)
- Convolute Tubing: For areas directly above the exhaust manifold, use fiberglass or high-temp silicone convolute tubing. (Cost: $25)
Technical Specifications: GM 5.3L Cam Sensor Pinout
Understanding the exact pinout and wire specifications is critical for continuity testing and proper splicing. The GM Vortec/LS truck cam sensor utilizes a 3-wire Hall-effect circuit. Refer to Aptiv's connector standards for terminal retention forces.
| Pin | Function | Wire Color (Typical) | Wire Gauge | Metric Size | Voltage Spec |
|---|---|---|---|---|---|
| A | Low Reference (Ground) | Black | 20 AWG | 0.5 mm² | < 0.05V |
| B | CMP Signal | Brown | 20 AWG | 0.5 mm² | 0.2V - 12V Square Wave |
| C | 12V Ignition Reference | Pink | 20 AWG | 0.5 mm² | Battery Voltage (Key ON) |
Sensor Installation Torque: When reinstalling the sensor after harness repair, the M6 mounting bolt must be torqued to 10 Nm (89 lb-in). Over-torquing can crack the sensor's internal Hall-effect housing or strip the aluminum cylinder head threads.
Comprehensive Cost & Tool Matrix
The following matrix compares the financial and tooling requirements of the three most common repair pathways for the cam sensor wiring harness.
| Repair Strategy | Part Cost | Required Tooling Cost | Labor Time | Longevity / Reliability |
|---|---|---|---|---|
| OEM Pigtail Splice (ACDelco PT1258 or equivalent) | $15 - $25 | $85 (Crimper, Strippers, Heat Shrink) | 0.5 - 1.0 Hr | High (if staggered & sealed) |
| Harness Re-Looming (Tesa Tape & Split Loom) | $35 - $50 | $20 (Heat gun, basic hand tools) | 1.5 Hrs | Excellent (OEM equivalent) |
| Full Engine Harness Replacement (OEM GM) | $450 - $800+ | $0 (Basic hand tools) | 4.0 - 6.0 Hrs | Maximum (Factory new) |
Common Failure Modes & Prevention Routing
The most frequent mistake made during cam sensor harness repair is improper routing. The replacement pigtail must not be pulled taut against the cylinder head.
The Oil Pressure Sensor Interference Issue
On the 5.3L Vortec, the cam sensor is located on the passenger side, near the oil pressure sending unit. When mechanics replace the oil pressure sensor, they often inadvertently pinch the cam sensor harness between the sensor body and the bracket. Furthermore, aftermarket oil pressure sensors often feature taller housings than the OEM AC Delco units, creating a new chafe point. Always route the cam sensor harness below the oil pressure sensor wiring, and secure it with a high-temperature zip tie to the existing harness trunk to maintain a 1/2-inch clearance from any sharp aluminum casting edges.
Preventing the 'Blown PCM Fuse' Cascade
If the Pink 12V reference wire shorts to ground before reaching the sensor, it will draw excessive current. On GMT900 platforms, this circuit is often protected by the 'ENG IGN' or 'PCM' fuse in the underhood fuse block. If you replace the fuse and it blows immediately upon key-on, do not replace the PCM. Use your DMM to check for continuity to ground on the Pink wire at the cam sensor connector. A reading of less than 5 ohms to chassis ground confirms the harness is shorted, validating the need for the pigtail repair outlined above.
By investing in the correct Metri-Pack crimping tools and utilizing adhesive-lined heat shrink, a $20 pigtail repair will outlast the vehicle's remaining lifespan, saving hundreds of dollars in unnecessary full-harness replacements or misdiagnosed PCM replacements.