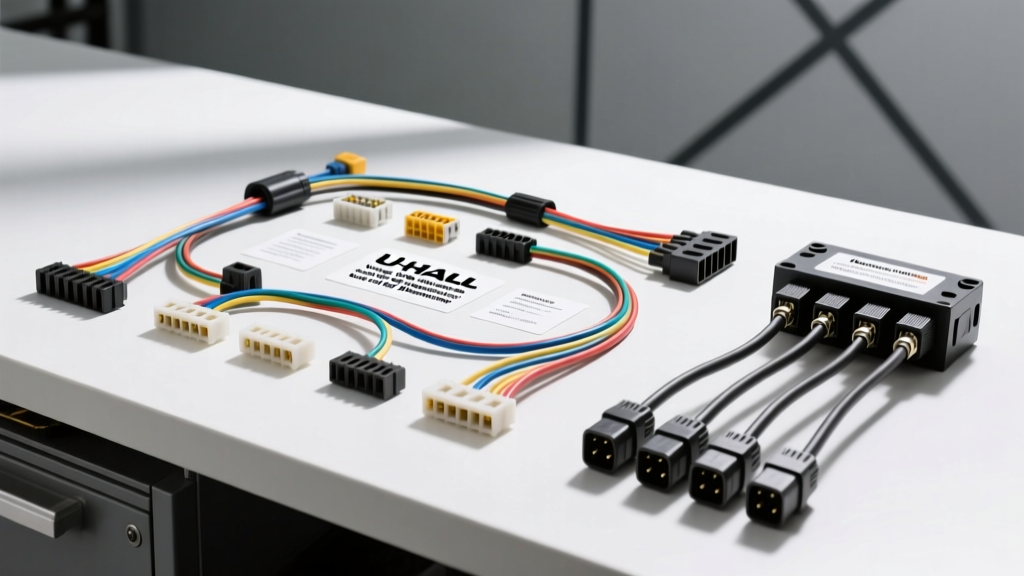
The Real U-Haul Wiring Harness Installation Cost Explained
When preparing to tow a utility trailer, boat, or camper, one of the most common questions beginners ask is about the U-Haul wiring harness installation cost. Typically, professional installation at a U-Haul center or similar chain ranges from $150 to $300. This price includes both the wiring kit (usually $30 to $80) and 1 to 2 hours of shop labor. However, understanding what you are actually paying for requires a deeper look into automotive electrical systems, wire gauges, and vehicle-specific multiplexed networks. While paying a professional offers peace of mind, trailer lighting circuits are fundamentally straightforward, making them an excellent entry point for DIY automotive electrical work.
4-Way Flat vs. 7-Way Blade: What Are You Paying For?
The cost of your installation is heavily dictated by the connector type your trailer requires. A standard 4-way flat connector handles basic lighting: running lights, left turn/brake, right turn/brake, and a ground. A 7-way RV blade connector adds circuits for 12V auxiliary power, electric trailer brakes, and reverse lights, requiring significantly more labor to route heavier gauge wires to the battery and brake controller.
Standard 4-Way Flat Pinout and Wire Specifications
To pass DOT regulations and match standard trailer plugs, your harness must adhere to specific color codes and wire thicknesses. According to SAE J1128 standards for low-tension primary cable, the copper stranding and PVC insulation must withstand under-hood and under-chassis temperature variations.
| Pin Position | Wire Color | Function | Recommended AWG | Max Amperage Draw |
|---|---|---|---|---|
| 1 (Ground) | White | Chassis Ground Return | 12 AWG (10 AWG preferred) | 15A - 20A |
| 2 (Tail) | Brown | Tail / Running / License Lights | 16 AWG | 7A - 10A |
| 3 (Left) | Yellow | Left Turn Signal & Stop Lights | 16 AWG | 7A - 10A |
| 4 (Right) | Green | Right Turn Signal & Stop Lights | 16 AWG | 7A - 10A |
Note: If your trailer uses incandescent bulbs, the initial inrush current can spike higher than the steady-state draw. If you have upgraded to LED trailer lights, the amperage draw drops to less than 1A per circuit, but you may need to install load resistors to prevent the tow vehicle's hyper-flashing.
Hardwiring vs. Plug-and-Play T-Connectors: The U-Haul Method
U-Haul technicians frequently use hardwiring methods or universal splice kits rather than vehicle-specific T-One connectors. Hardwiring involves physically tapping into the vehicle's rear tail light harness using crimp connectors. While effective when done correctly, many budget installations rely on 'Scotchlok' or tap-splice connectors. These U-shaped metal clips pierce the wire insulation to make contact. From an automotive electrical perspective, these are highly discouraged. Piercing the insulation exposes the bare copper to moisture, leading to galvanic corrosion, increased resistance, and eventual voltage drop that dims your trailer lights.
The superior DIY alternative is to use custom T-connectors (like those made by Tekonsha or Curt) that plug inline between the factory tail light and the vehicle's wiring harness, requiring zero cutting or splicing. For a comprehensive breakdown of vehicle-specific plug-and-play options, refer to etrailer's expert wiring guide.
Beginner-Friendly DIY Installation Steps
If you choose to bypass the U-Haul installation cost and wire the harness yourself, follow these foundational steps to ensure a reliable, corrosion-free connection.
- Identify the Circuits: Use a digital logic probe or a standard incandescent circuit tester. Back-probe the tail light connector while a helper activates the left turn, right turn, and running lights. Mark the corresponding wires with painter's tape.
- Strip and Crimp Properly: Use a dedicated wire stripper to remove exactly 1/4 inch of insulation from the 16 AWG vehicle wires and the harness wires. Do not nick the copper strands, as this creates a weak point that will snap under chassis vibration.
- Use Adhesive-Lined Heat Shrink: Discard the standard vinyl butt connectors included in cheap kits. Instead, use nylon-insulated, adhesive-lined heat shrink butt connectors (16-14 AWG size). When crimped and heated, the internal adhesive melts and seals the connection against water and road salt.
- Establish a True Ground: The most common cause of trailer lighting failure is a poor ground. Do not rely on the plastic bumper fascia or painted sheet metal. Sand away the paint down to bare metal on the frame rail, apply a dielectric grease to prevent rust, and secure the 12 AWG white ground wire using a self-tapping sheet metal screw or an existing factory chassis bolt.
- Route Safely: Zip-tie the harness along the factory wiring loom. Maintain at least 6 inches of clearance from the exhaust system to prevent the PVC insulation from melting, and ensure there is enough slack for the vehicle's rear suspension to articulate fully without pulling the wires taut.
Multiplexed CAN-Bus Systems: When Standard Kits Fail
Understanding the U-Haul wiring harness installation cost also means understanding modern vehicle architecture. If you drive a late-model vehicle (typically 2015 and newer, especially European models or modern Ford/GM trucks), your tail lights are likely controlled by a Body Control Module (BCM) using multiplexed CAN-bus signals or Pulse Width Modulation (PWM). These systems do not send a constant 12V analog signal to the bulbs; they send digital data packets to smart LED drivers.
If you splice a standard, non-powered trailer harness into a PWM circuit, the trailer lights will strobe, fail to illuminate, or worse, draw too much current and fry the vehicle's BCM—a repair that can cost upwards of $1,500. For these vehicles, you must use a Powered Converter Module (often branded as Modulite or Curt Powered Converters). These modules use the vehicle's tail light wires only as low-amperage signal triggers, while an internal MOSFET switches heavy-duty 12V power drawn directly from the vehicle's battery via a dedicated 12 AWG fused power line. This completely isolates the trailer's electrical load from the vehicle's sensitive data networks.
Final Verdict: Is Professional Installation Worth It?
The U-Haul wiring harness installation cost is generally fair for the labor involved, especially if your vehicle requires dropping the rear bumper cover, removing interior trunk panels to access hidden BCM modules, or routing a heavy-gauge 12V power wire through the firewall. However, for older vehicles with simple analog 12V lighting circuits, the DIY route using a plug-and-play T-connector and proper heat-shrink crimping techniques will save you money and yield a more reliable, weather-sealed result. By mastering these beginner-friendly fundamentals, you ensure your trailer remains safely illuminated on every haul.
For further reading on heavy-duty towing setups and brake controller integration, consult the Curt Manufacturing trailer wiring resource center for vehicle-specific diagrams and torque specifications for grounding hardware.