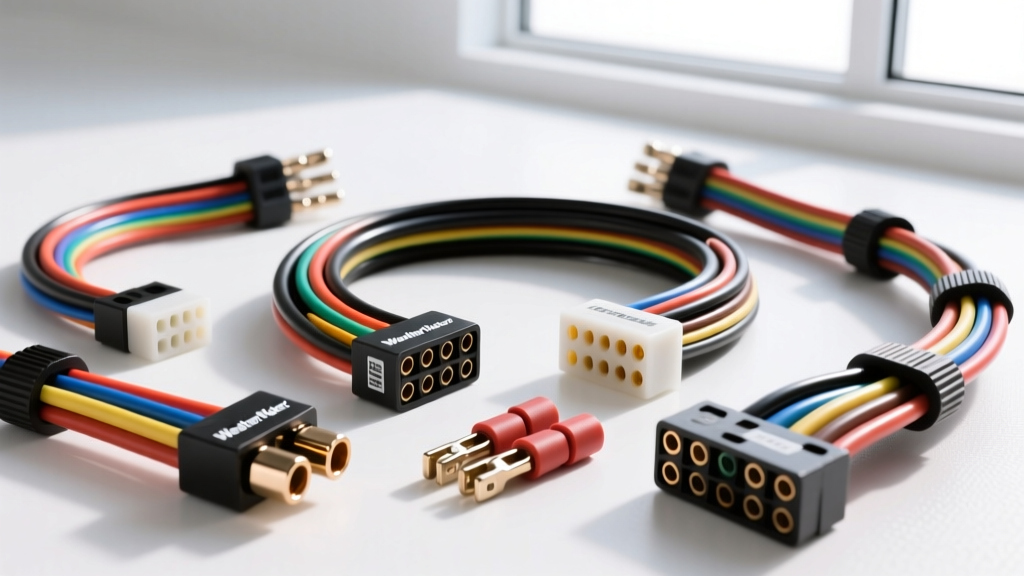
Why Connector Choice Dictates Harness Reliability
Building a custom wiring harness or repairing an OEM loom requires far more than simply splicing wires together. The weakest link in any automotive electrical system is the connection point. Selecting the correct auto connectors for wiring harness applications ensures resistance to high-frequency vibration, moisture intrusion, and severe thermal cycling. A poorly chosen or improperly crimped connector will suffer from capillary action, drawing moisture past the seal and into the copper strands, leading to green corrosion and eventual voltage drop. For beginners stepping into engine swaps, custom lighting, or ECU repinning, understanding the mechanical and electrical differences between connector families is the first step toward building a reliable harness.
The Big Three: Weather-Pack, Metri-Pack, and Deutsch
When sourcing auto connectors for wiring harness kits, you will predominantly encounter three industry-standard families. Each serves a distinct purpose based on current capacity, environmental sealing, and physical footprint.
Delphi Weather-Pack (The Classic Standard)
Originally developed by Packard Electric, the Weather-Pack series is the most recognizable aftermarket connector. It utilizes cylindrical male and female terminals with individual ribbed silicone seals that slide over the wire insulation. Weather-Pack connectors are generally rated for up to 20 amps per circuit and are ideal for exterior lighting, horn relays, and basic sensor circuits. The sealing mechanism relies on the ribbed sleeve compressing against both the wire jacket and the inside of the nylon housing. While robust, they are bulkier than modern alternatives, making them less suitable for high-density ECU connections.
Aptiv Metri-Pack (The Modern OEM Choice)
If you are repinning a modern LS or Coyote ECU, you will use Metri-Pack connectors. Unlike Weather-Pack, Metri-Pack utilizes flat-blade terminals and a "pull-back" seal design where the silicone seal is integrated into the terminal or pushed onto the wire before crimping. They are categorized by series: 150 (small footprint for low-current sensors like IAT or MAP), 280 (standard for fuel injectors and ignition coils), and 630 (heavy-duty for power feeds). According to Mouser Electronics' Aptiv integration guides, the defining feature of the Metri-Pack line is the mandatory use of a TPA (Terminal Position Assurance) lock. This secondary plastic wedge prevents terminal push-out when the connector is mated under high friction.
Deutsch DT Series (Heavy-Duty & Off-Road)
For off-road vehicles, marine applications, or heavy-duty diesel swaps, the Deutsch DT series is the gold standard. Deutsch connectors use solid, machined cylindrical pins and sockets rather than stamped metal. The sealing is achieved via a single, multi-cavity silicone grommlet at the rear of the housing, secured by a plastic wedgelock. They offer superior vibration resistance and are the preferred auto connectors for wiring harness segments exposed to extreme mechanical shock, such as transmission solenoids or ABS modules.
Wire Gauge to Terminal and Seal Matching Chart
Mismatching your wire gauge (AWG) to the terminal crimp barrel or the silicone seal is the most common beginner mistake. If the seal is too loose on the wire jacket, moisture will bypass the connector. Reference this chart when building your harness:
| Wire Gauge (AWG) | Weather-Pack Seal Color | Metri-Pack Series | Typical Application |
|---|---|---|---|
| 20 - 18 AWG | Green (or Yellow) | 150 Series | O2 Sensors, MAP, IAT, CAN Bus |
| 16 - 14 AWG | Red | 280 Series | Fuel Injectors, Ignition Coils, Relays |
| 12 AWG | Blue | 630 Series / DT | ECU Main Power, Fan Relays, Headlights |
Note: Always adhere to SAE J1128 standards for low-tension primary cable specifications when selecting your wire to ensure the outer jacket diameter matches the connector seal tolerances.
Step-by-Step: Crimping Your First Auto Connector
Proper crimping creates a cold-weld between the copper strands and the terminal barrel. For open-barrel terminals (common in Metri-Pack and modern OEM harnesses), use a dedicated open-barrel crimping tool (such as the SN-28B or Delphi 12094430 equivalent). Never use pliers or solder.
- Strip the Wire: Strip exactly 5/32" (approx. 4mm) of insulation. Do not nick the copper strands, as this creates a stress riser that will snap under engine vibration.
- Position in the Die: Place the terminal in the crimp tool. The conductor crimp wings (the smaller front wings) must face inward, and the insulation crimp wings (the larger rear wings) must face outward.
- Insert and Squeeze: Insert the wire so the copper strands protrude slightly past the front of the conductor barrel. This is called the "conductor brush" and should be about 0.5mm. Squeeze the tool until the ratchet releases.
- Inspect the Crimp: The conductor crimp should form a tight "B" or "M" shape, wrapping tightly around the bare copper. The insulation crimp should wrap snugly around the wire jacket without piercing it. If the insulation is pierced, the wire will eventually break from flexing.
- Install the Seal and TPA: Slide the silicone seal up to the base of the insulation crimp. Insert the terminal into the nylon housing until you hear a distinct "click." Finally, insert the TPA lock to secure the terminal in place.
Pin Extraction Techniques
Beginners often panic when a wire needs to be moved to a different pinout location. Never pull on the wire to extract a terminal; you will strip the internal locking tangs. For Weather-Pack connectors, use a specialized pick tool (like the Lisle 39960) to slide alongside the terminal and depress the metal locking tangs while gently pushing from the front. For Metri-Pack, you must first use a small flathead screwdriver to pry up the TPA secondary lock into the "unlocked" position before the terminal can be released.
Common Beginner Mistakes and Troubleshooting Decision Tree
Even with the right auto connectors for wiring harness builds, errors occur. Use this diagnostic table to identify and fix common connection failures.
| Symptom | Probable Cause | Corrective Action |
|---|---|---|
| Terminal pushes out when mating connectors | Missing TPA lock, or locking tangs bent flat during crimping. | Extract terminal, use a pick to bend the metal tangs outward at a 30-degree angle, reinstall TPA. |
| Intermittent signal loss (e.g., stalling, misfire) | Wire strands cut during stripping, or insulation crimp piercing the jacket. | Cut off terminal, strip fresh wire ensuring no nicks, re-crimp with proper die depth. |
| Green corrosion inside the housing | Seal mismatched to wire gauge, or wire pulled too hard breaking the seal barrier. | Verify AWG matches seal color. Apply a small amount of dielectric grease to the mating face, not inside the pin socket. |
| Connector melts under load | Using 150/280 series for high-amp circuits (e.g., cooling fans). | Upgrade to Deutsch DT or Metri-Pack 630 series. Verify wire is 12 AWG or larger. |
Validating Your Connections
Once your harness is assembled, validate the connections using a digital multimeter. Perform a voltage drop test across the mated connector while the circuit is under load. According to Painless Performance Wiring guidelines, a healthy connection should show a voltage drop of less than 0.1V for low-current sensor circuits, and no more than 0.2V for high-current power feeds. If your reading exceeds these thresholds, you have high resistance caused by a loose crimp or oxidized terminal, and the connection must be cut and rebuilt. Mastering these fundamentals ensures your custom harness will survive the harsh environment of the engine bay for years to come.