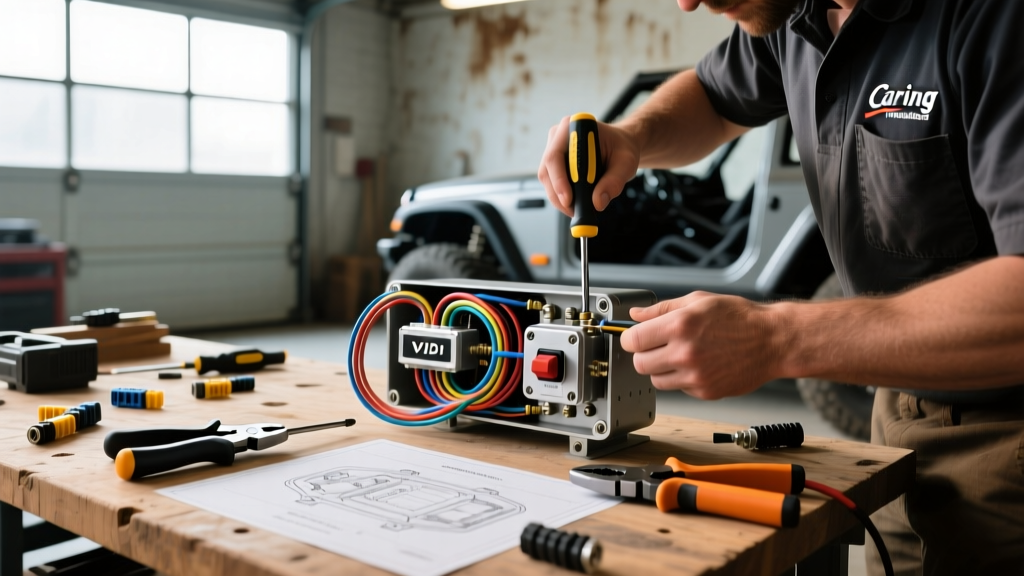
Introduction to the V1D1 Contura Series
When building a custom switch panel for an off-road rig, marine vessel, or expedition vehicle, the Carling Technologies rocker switches V1D1 represent the gold standard for durability and performance. The V1D1 designation specifically refers to the Contura V series actuator style, configured as a Single Pole Single Throw (SPST) OFF-NONE-ON switch, rated for 20 Amps at 12V DC. Unlike cheap imported clones that suffer from internal arcing and brittle housings, the genuine V1D1 utilizes a robust polyester housing and silver-cadmium oxide contacts designed to withstand heavy inductive loads like winch solenoids, LED light bars, and fuel pumps.
However, integrating these switches into a custom aluminum or ABS plastic panel requires more than just popping them into a cutout. Achieving a factory-grade, weather-resistant installation demands specific tooling, precise wire sizing, and an understanding of the true bill of materials. This cost and tool requirements analysis breaks down exactly what you need to execute a professional V1D1 installation, highlighting where budget cuts lead to catastrophic electrical failures.
Bill of Materials: Breaking Down the V1D1 Switch Costs
The base cost of the switch is only a fraction of the total installation expense. A proper 12V custom panel build requires consideration of the switch, the bezel, the termination hardware, and the circuit protection. Below is a realistic cost analysis for a single 20A V1D1 circuit, comparing a pre-assembled harness approach versus a custom bulk-wire build.
| Component | Specification | Pre-Assembled Harness Cost | Custom Bulk-Wire Cost |
|---|---|---|---|
| Carling V1D1 Switch | SPST OFF-NONE-ON 20A 12V | $9.50 | $9.50 |
| Contura V Bezel | Single or Multi-gang ABS | $3.00 | $3.00 |
| Wiring Harness | 12 AWG TXL with Deutsch/ATC | $14.00 | $2.50 (per ft) |
| Terminals | 0.250in Female Quick-Disconnect | Included | $0.45 each |
| Heat Shrink | 3:1 Dual-Wall Polyolefin | Included | $0.80 per piece |
| Circuit Protection | 15A or 20A ATC Blade Fuse | $2.00 | $2.00 |
| Total Per Circuit | Excluding Panel & Labor | ~$28.50 | ~$18.25 |
While the custom bulk-wire approach saves roughly $10 per circuit, it exponentially increases the tooling requirements and labor time. For a 6-gang switch panel, the savings of $60 must be weighed against the cost of professional crimping tools and the risk of human error during termination.
Essential Tooling for a Factory-Grade Installation
The Carling V-Series requires a standard rectangular panel cutout measuring exactly 1.450 inches by 0.830 inches (36.8mm x 21.1mm). Attempting to cut this with a Dremel and a file often results in chipped panels, uneven gaps, and switches that vibrate loose under off-road conditions. Furthermore, the 0.250-inch (6.35mm) blade terminals demand precise crimping to handle the 20A continuous load without generating excess heat.
Panel Cutting and Preparation Tools
- Rectangular Rocker Switch Punch/Cutter: A dedicated hydraulic or manual rocker switch hole punch costs between $40 and $85. This tool guarantees the 1.450 x 0.830 inch cutout is perfectly square, ensuring the Contura V bezel snaps in flush and maintains its IP68 splash resistance rating.
- Nibbler or Jigsaw with Fine-Tooth Metal Blade: If a punch is out of budget, a high-quality nibbler ($30) is the minimum acceptable alternative for aluminum panels. Standard jigsaws tend to chatter and mar the powder-coated finish of custom switch boxes.
Termination and Crimping Equipment
- Ratcheting Crimper for 0.250in Terminals: Non-ratcheting crimpers rely entirely on hand pressure, frequently resulting in cold joints. A ratcheting crimper (such as the Titan 11177 or equivalent, ~$35) ensures the terminal barrel is deformed to the exact wire diameter, achieving a gas-tight connection capable of withstanding high-vibration environments.
- Variable Temperature Heat Gun: Required for shrinking dual-wall, adhesive-lined marine heat shrink. A standard lighter or torch will scorch the insulation and fail to activate the internal meltable polyolefin adhesive, leaving the wire strands vulnerable to capillary water intrusion.
- Wire Strippers with AWG Specific Dies: Stripping 12 AWG TXL wire requires precise depth control to avoid nicking the copper strands, which reduces the cross-sectional area and creates a localized hot spot under a 20A load.
Wiring Specifications and Pinout Configuration
Understanding the internal architecture of the V1D1 is critical for proper wiring and illumination control. The Contura V SPST switch utilizes four primary terminals for power and LED illumination. According to Carling Technologies official datasheets, the standard pinout for the V1D1B60B configuration is as follows:
| Pin Number | Terminal Size | Function | Wire Gauge Recommendation |
|---|---|---|---|
| Pin 2 | 0.250in Blade | Line (12V+ Power In from Fuse) | 12 AWG TXL/GXL |
| Pin 3 | 0.250in Blade | Load (12V+ Power Out to Accessory) | 12 AWG TXL/GXL |
| Pin 7 | 0.187in Blade | LED Ground (Illumination -) | 18 AWG |
| Pin 8 | 0.187in Blade | LED Power (Illumination +) | 18 AWG |
Wire Sizing and Voltage Drop Analysis
The V1D1 is rated for 20 Amps, but continuous automotive loads should ideally be derated by 20% for safety, meaning a 16A continuous draw is the practical maximum. Per SAE J1128 standards for low-tension automotive wire, 12 AWG TXL (Thin-wall Cross-linked) wire is mandatory for the main load circuit (Pins 2 and 3). TXL wire features a high-temperature insulation rating up to 125 degrees Celsius, which is vital because the switch housing can trap heat if the terminal connections have even minor resistance.
For the illumination circuit (Pins 7 and 8), the internal LEDs draw less than 20mA. 18 AWG wire is more than sufficient and makes routing the backlighting harness through tight panel corners significantly easier. To illuminate the switch only when turned ON, Pin 8 is left unconnected, and the internal circuit routes illumination power through the switch contacts. To have the switch backlight whenever the vehicle's parking lights are on, Pin 8 is jumpered to the vehicle's dimmer circuit, and Pin 2 receives constant switched 12V.
Hidden Costs: Common Installation Failures
When analyzing the cost of a V1D1 installation, you must factor in the hidden costs of failure modes caused by improper tooling or corner-cutting.
1. Melted Switch Housings from Cold Crimps
The most common failure in custom off-road panels is a melted polyester switch housing. This occurs when installers use cheap, non-insulated quick-disconnect terminals and crush them with pliers or non-ratcheting crimpers. A poor crimp introduces electrical resistance. At 15 Amps, a high-resistance joint will generate significant localized heat (I-squared-R losses). Because the 0.250-inch terminal is seated directly inside the switch body, this heat transfers into the plastic, warping the internal rocker mechanism and causing the switch to stick or melt entirely.
2. LED Burnout from Reverse Polarity
The LEDs inside the Contura V series are polarity-sensitive. If an installer guesses the pinout and applies 12V+ to Pin 7 and Ground to Pin 8, the internal LED diode will instantly blow. Unlike incandescent bulbs, a blown LED in a V1D1 cannot be repaired without destroying the switch housing to access the surface-mount diode. This turns a $9.50 switch into scrap.
3. Water Intrusion via Capillary Action
Using standard PVC electrical tape or single-wall heat shrink on the 0.250-inch terminal connections is a critical error in marine or open-air environments. Water will wick up the copper strands via capillary action, eventually reaching the switch contacts and causing galvanic corrosion. The mandatory use of 3:1 dual-wall, adhesive-lined heat shrink adds roughly $0.80 per termination but prevents thousands of dollars in downstream electrical gremlins and corrosion-related voltage drops.
Strategic Cost Optimization
To optimize your budget without sacrificing reliability, purchase the Carling V1D1 switches and bezels in bulk from authorized marine distributors rather than retail markup vendors. Invest heavily in the ratcheting crimper and the rectangular panel punch—these are one-time capital expenditures that guarantee every subsequent circuit you build meets OEM standards. Finally, adhere strictly to proper crimping methodologies and utilize ATC blade fuses sized to the wire gauge, not the load, to ensure the wiring harness is fully protected against dead-shorts. By understanding the true cost of materials and the non-negotiable tooling requirements, your V1D1 switch panel will deliver years of flawless, weatherproof operation in the harshest environments.