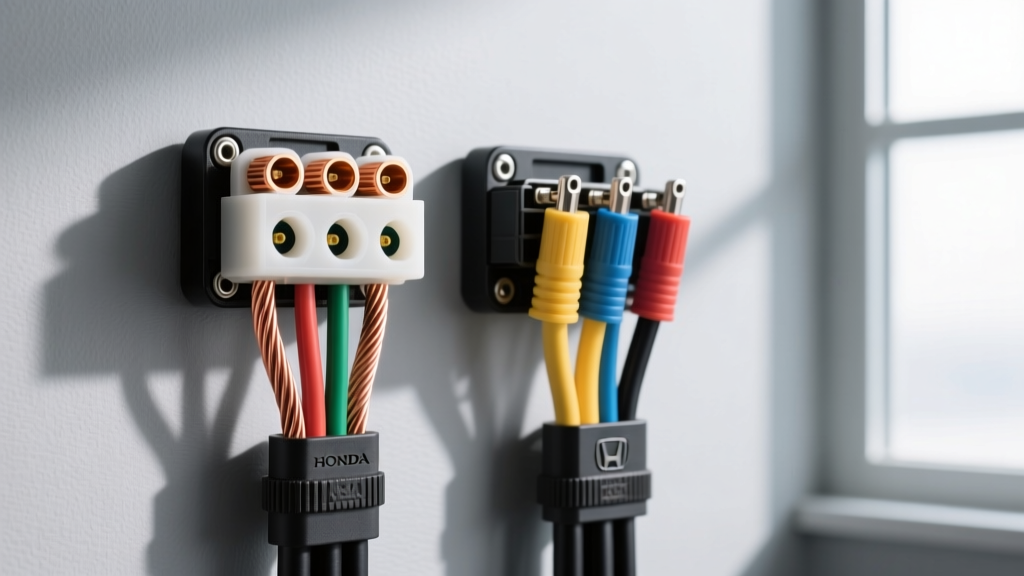
Introduction to Honda Pilot Towing Electricals
The Honda Pilot is a premier midsize SUV capable of towing up to 3,500 lbs (FWD) or 5,000 lbs (AWD) when properly equipped. However, maximizing this capacity requires more than just a hitch receiver; it demands a robust, vehicle-integrated electrical system. Selecting the correct Honda Pilot trailer wiring harness is critical for safe braking, legal lighting, and preventing damage to the vehicle's Multiplex Integrated Control Unit (MICU). This guide compares OEM and aftermarket harness architectures, breaks down 4-pin versus 7-pin configurations, and provides expert-level installation specifications.
OEM vs. Aftermarket Harness: Which Should You Choose?
When outfitting a Pilot (particularly the 2016-2022 Gen 3 and 2023+ Gen 4 models), owners must choose between genuine Honda accessory harnesses and aftermarket T-connectors (like Tekonsha or CURT). The primary difference lies in how they interface with the Pilot's dedicated Trailer Tow Module (TTM) located behind the driver-side rear quarter panel.
| Feature | OEM Honda Harness (e.g., 08L92-TG7-100) | Aftermarket T-One (e.g., Tekonsha 118679) |
|---|---|---|
| Integration | Plugs directly into factory TTM and MICU. | Taps into rear taillight circuits via inline T-connectors. |
| Relay Requirement | Requires under-hood relay/fuse kit (included). | Usually draws power directly from battery via inline fuse. |
| CAN-bus Safety | 100% compatible; retains dashboard trailer bulb-out warnings. | Bypasses TTM; may trigger MICU hyperflash or CAN errors. |
| Installation Time | 2.5 - 3.5 hours (requires interior trim removal). | 45 - 60 minutes (plug-and-play at taillights). |
| Cost Estimate | $250 - $350 (Parts) | $60 - $120 (Parts) |
Expert Verdict: If your Pilot is pre-wired with the factory tow package (indicated by a capped 7-pin connector behind the rear bumper valance), always use the OEM Honda harness or a direct-replacement aftermarket pigtail that mates with the factory square connector. If your Pilot lacks the factory TTM, an aftermarket powered converter harness is required to isolate the trailer's lighting draw from the Pilot's sensitive CAN-bus lighting circuits.
4-Pin Flat vs. 7-Way RV Blade: Application Guide
The Honda Pilot supports both 4-pin and 7-pin configurations, but your selection must align with your trailer's braking and auxiliary requirements.
4-Pin Flat Connector
- Use Case: Light-duty utility trailers, small boat trailers, and motorcycle carriers under 2,000 lbs.
- Functionality: Provides only basic lighting (Tail, Left Turn/Stop, Right Turn/Stop, Ground).
- Limitation: Cannot support electric trailer brakes or a 12V auxiliary charge line for trailer breakaway batteries.
7-Way RV Blade Connector
- Use Case: Travel trailers, enclosed cargo trailers, and heavy equipment trailers approaching the Pilot's 5,000 lbs max capacity.
- Functionality: Adds Electric Brakes, 12V Auxiliary Power, and Reverse/Auxiliary lighting.
- Requirement: Mandates the installation of an in-cabin proportional brake controller (e.g., Tekonsha Prodigy P3) and the routing of a 10 AWG blue brake wire from the dash to the rear bumper.
Honda Pilot 7-Way Pinout & Wire Specifications
When wiring a custom 7-way pigtail or troubleshooting an existing OEM harness, adherence to the SAE J560 standard is critical. Below is the exact pinout, wire color code, and minimum American Wire Gauge (AWG) required for a safe Honda Pilot 7-way installation.
| Pin | Function | Standard Wire Color | Min. AWG | Honda Internal Harness Color (Varies by Year) |
|---|---|---|---|---|
| 1 | Ground (Chassis) | White | 10 AWG | Black / White |
| 2 | Electric Brakes | Blue | 10 AWG | Blue (Requires Brake Controller) |
| 3 | Tail / Running Lights | Brown | 14 AWG | Red / Green |
| 4 | Left Turn / Stop | Yellow | 14 AWG | Yellow / Green |
| 5 | Right Turn / Stop | Green | 14 AWG | Yellow / Red |
| 6 | 12V Auxiliary Power | Red or Black | 10 AWG | White / Blue (From Battery via Relay) |
| 7 | Center Aux / Reverse | Purple | 14 AWG | Purple (Tied to Reverse Lamp Circuit) |
Critical Installation Steps: Relays, Fuses, and Grounding
Installing a 7-way harness on a Pilot is not simply a plug-and-play affair at the rear bumper. The vehicle's electrical architecture requires specific under-hood activations to protect the MICU from trailer voltage spikes.
1. Under-Hood Relay and Fuse Integration
To activate the factory trailer tow module and the 12V auxiliary pin (Pin 6), you must install the following in the under-hood fuse box:
- 30A Trailer B/U Fuse: Powers the 12V auxiliary charge line. This circuit is controlled by a factory relay that only energizes when the ignition is in the ON or ACC position, preventing trailer parasitic draw from killing the Pilot's battery.
- 15A Trailer EM Fuse: Powers the internal logic board of the Trailer Tow Module (TTM).
- Tow Package Relays: Locate the two empty relay slots labeled "Trailer" in the under-hood fuse box. Insert the OEM Honda 39794-SDA-A03 relays. Without these, the rear trailer lighting circuits will remain dead.
2. Grounding and Torque Specifications
The most common cause of trailer lighting failure on the Pilot is a high-resistance ground. The 10 AWG white ground wire must be terminated with a closed-ring terminal and bolted directly to bare, unpainted chassis metal near the rear bumper reinforcement.
- Bolt Size: M8 x 1.25 flange bolt.
- Torque Spec: 22 Nm (16 lb-ft).
- Preparation: Sand away e-coat and paint using 80-grit sandpaper. Apply a thin layer of dielectric grease after torquing to prevent galvanic corrosion between the copper terminal and steel chassis.
Real-World Failure Modes & Troubleshooting
Even with a premium Tekonsha or OEM Honda harness, environmental factors and installation errors can lead to electrical faults. Use this decision tree to diagnose common Pilot trailer wiring issues.
Symptom: Trailer Running Lights Do Not Work, But Turn Signals Do
- Cause 1: Blown 15A Trailer EM fuse in the under-hood fuse box. The TTM has shut down the running light circuit to protect against a short.
- Cause 2: Corrosion inside the 7-way RV blade socket. The brown wire terminal (Pin 3) is prone to moisture ingress. Fix: Clean terminals with electrical contact cleaner and pack the socket with silicone dielectric grease.
Symptom: Pilot Dashboard Shows "Check Trailer Lights" Warning
- Cause: The Pilot's MICU monitors voltage drop across the TTM. If you are using LED trailer lights, their low current draw may trick the MICU into thinking a bulb is burnt out.
- Fix: Install inline LED load resistors (e.g., CURT 57003) on the brown, yellow, and green circuits to simulate the 2.1A draw of standard incandescent 1157 bulbs.
Symptom: Electric Brakes Lock Up or Do Not Engage
- Cause: The 10 AWG blue brake wire is shorting against the exhaust heat shield, or the brake controller ground is tied to a painted dash panel rather than the main chassis ground stud behind the driver kick panel.
- Fix: Inspect the blue wire routing under the vehicle. Ensure it is secured with nylon zip ties at least 4 inches away from the exhaust crossover pipe. Verify the brake controller ground ring terminal is secured to bare metal with an M6 bolt torqued to 10 Nm.
Conclusion
Choosing the right Honda Pilot trailer wiring harness dictates the safety and reliability of your towing setup. While aftermarket T-connectors offer a budget-friendly, quick solution for light-duty 4-pin applications, the OEM Honda 7-way harness remains the undisputed choice for heavy towing. By leveraging the factory Trailer Tow Module, integrating the under-hood relays, and strictly adhering to SAE wire gauge and pinout standards, you ensure that your Pilot's electrical system remains protected while delivering flawless power to your trailer's brakes and lights. For comprehensive vehicle-specific wiring schematics, always consult your local dealer's Honda TechInfo portal or the factory service manual.