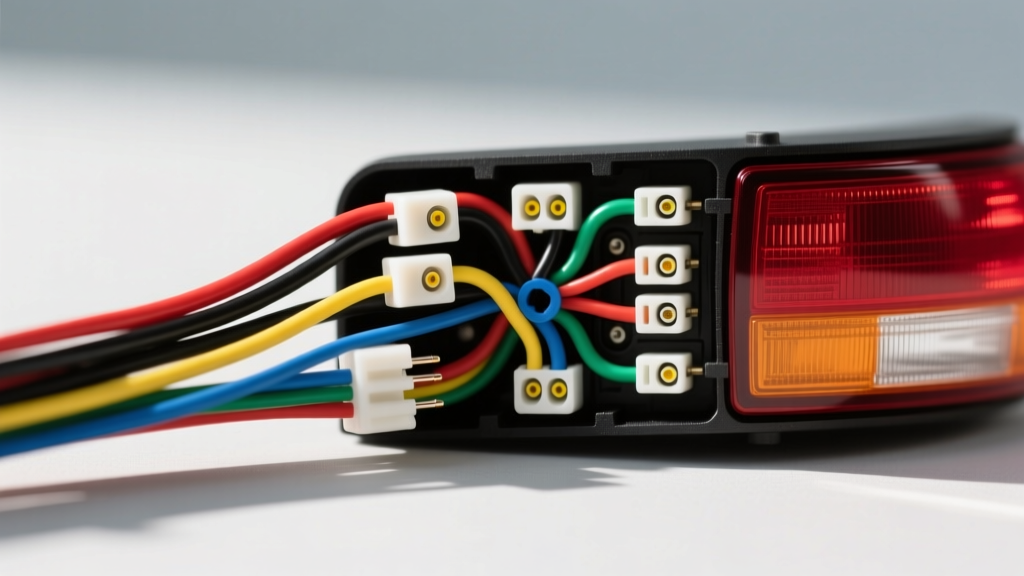
Understanding the 88-98 Chevy C/K Tail Light Circuit
If you are diving into the electrical system of a 1988-1998 Chevrolet C/K truck (the legendary GMT400 platform), you are in luck. Unlike modern vehicles burdened with CAN-bus networks and body control modules, the 88-98 Chevy tail light wiring diagram represents the golden era of straightforward, analog 12-volt DC circuits. For beginners, this platform is the ultimate training ground for learning automotive electrical fundamentals.
Whether you are driving a C1500, K2500, Tahoe, or Suburban from this generation, the rear lighting harness relies on a simple parallel circuit design. Power flows from the fuse block, through the steering column's multifunction switch, across the firewall bulkhead connector, and down to the rear 1157 dual-filament bulbs. However, 'simple' does not mean 'immune to failure.' Decades of exposure to road salt, vibration, and poorly spliced aftermarket trailer connectors have left many of these trucks with mysterious lighting gremlins. This guide will break down the schematic into digestible, beginner-friendly concepts while providing the exact wire colors, AWG specifications, and diagnostic steps you need to fix your truck right the first time.
GMT400 Tail Light Wiring Color Codes & Specifications
Before grabbing a test light or multimeter, you must understand the language of General Motors wiring. GM adhered to a strict color-coding standard for the GMT400 exterior lighting harness. According to SAE J1128 standards for low-tension primary cable, automotive wire is sized by American Wire Gauge (AWG). Lighting circuits typically utilize 18 AWG wire, which is sufficient for the low amperage draw of incandescent bulbs while minimizing voltage drop over the 15-foot run to the rear of the truck.
| Wire Color | Circuit Function | AWG Size | Fuse / Protection | Voltage / Amperage |
|---|---|---|---|---|
| Brown | Tail / Running / Marker Lights | 18 AWG | Fuse #4 (20A) | 12V / ~0.59A per bulb |
| Yellow | Left Turn Signal / Stop Lamp | 18 AWG | Fuse #9 (20A) | 12V / ~2.1A per bulb |
| Dark Green | Right Turn Signal / Stop Lamp | 18 AWG | Fuse #9 (20A) | 12V / ~2.1A per bulb |
| Black | Chassis Ground | 16 AWG | N/A | 0V (Return Path) |
| Light Blue | Backup / Reverse Lamps | 18 AWG | Fuse #7 (20A) | 12V / ~2.1A |
Step-by-Step Diagram Tracing for Beginners
Reading a wiring diagram can feel like staring at a bowl of spaghetti. To simplify the 88-98 Chevy tail light wiring diagram, we will trace the circuit from the power source to the ground, breaking it into three distinct zones.
Zone 1: The Power Source and Fuse Block
Power originates at the under-hood fuse block. When you pull the headlight switch, it sends 12V down the Brown wire circuit for your tail lights. When you press the brake pedal, the brake light switch (located on the pedal bracket under the dash) sends 12V down the White wire into the steering column. Always verify voltage at the fuse block first using a digital multimeter (DMM) set to DC Volts. If you have 12V at the fuse but not at the rear, the issue lies downstream.
Zone 2: The Multifunction (Turn Signal) Switch
This is where GM's design confuses many beginners. The brake lights and turn signals share the exact same filament inside the rear 1157 bulb. The White brake wire enters the multifunction switch on the steering column. If the turn signal lever is in the neutral position, the switch routes brake power to both the Yellow (Left) and Dark Green (Right) wires. If you signal a left turn, the switch interrupts brake power to the left side and flashes the Yellow wire instead. Expert Tip: If your third brake light (cab light) works, but your lower tail/brake lights do not, your multifunction switch is almost certainly failing internally—a notorious GMT400 weak point.
Zone 3: The Bulkhead Connector and Rear Harness
The wiring harness exits the cab through a large, multi-pin bulkhead connector located on the driver's side firewall, near the brake master cylinder. This connector is a frequent victim of corrosion. The Yellow, Dark Green, and Brown wires pass through this bulkhead and travel down the driver-side frame rail to the rear lamp sockets.
Troubleshooting Common 1988-1998 Chevy Tail Light Failures
Use this diagnostic decision tree to isolate your specific electrical fault without throwing unnecessary parts at the truck. For deeper diagnostic flowcharts, the Haynes GM Pick-Ups Repair Manual (1988-1998) remains an indispensable glovebox resource.
- Symptom: Tail lights work, but NO brake lights or turn signals on either side.
- Cause: Blown Fuse #9, faulty brake pedal switch, or failed multifunction switch.
- Fix: Check the 20A STOP/HAZ fuse. If good, test for 12V at the brake switch under the dash. If power leaves the switch but doesn't reach the rear, replace the column multifunction switch.
- Symptom: Brake light works, but when you turn the signal on, the bulb goes completely dark instead of flashing.
- Cause: Bad ground at the rear socket or a burned-out lower filament in the 1157 bulb.
- Fix: The turn signal flasher module requires a specific amperage load to trigger the thermal flash. A bad ground prevents the circuit from completing, dropping the amperage to zero. Clean the socket and verify the Black ground wire.
- Symptom: When pressing the brake, the tail lights dim, and the dashboard illumination turns on.
- Cause: 'Backfeeding' due to a missing or corroded ground at the rear lamp assembly.
- Fix: Without a dedicated ground, the 12V brake current seeks an alternate path to ground. It travels backward through the Brown tail light wire, through the bulb filaments, and into the dash circuit. Scrape the rust off the bed/bulkhead ground ring terminal and apply dielectric grease.
The 1157 Bulb Socket: Pinout and Physical Inspection
The rear tail lights on the 88-98 C/K utilize the industry-standard 1157 dual-filament bulb. Understanding the physical socket is just as important as reading the 88-98 Chevy tail light wiring diagram.
- Offset Bayonet Pins: The pins on the side of the 1157 bulb are not perfectly aligned; one is slightly higher than the other. This ensures you cannot insert the bulb backward, which would cause your brake lights to act as running lights and vice versa.
- Bottom Contacts: The bottom of the bulb has two soldered contact points. The outer ring is the low-amperage tail light filament (5 watts). The center dot is the high-amperage stop/turn filament (21 watts).
- Socket Corrosion: GM used plastic sockets that become brittle from heat cycles. If the copper contacts inside are coated in green verdigris, use a small pick and sandpaper to clean them. If the plastic is melted (a common issue if someone installed the wrong bulb or a short occurred), replace the entire pigtail socket using solder-seal heat shrink connectors—never use crimp taps for exterior lighting.
Aftermarket Trailer Wiring: The GMT400 Nemesis
It is impossible to discuss Chevy C/K tail light wiring without addressing the 4-way flat trailer connector. Factory-equipped tow packages used a dedicated plug-and-play harness with an isolation relay. However, millions of trucks were fitted with cheap, aftermarket 'tap-in' trailer harnesses by previous owners.
These aftermarket harnesses use scotch-lock connectors to pierce the Yellow, Dark Green, and Brown wires under the truck. Over time, water infiltrates these puncture wounds, causing copper oxidation (green crust) that increases resistance. This leads to voltage drops, dim lights, and hyper-flashing turn signals. If you are restoring an 88-98 Chevy, your first step should be locating and removing any non-factory trailer wiring splices, repairing the main harness with solder and adhesive-lined heat shrink, and installing a proper T-connector or isolated relay module for trailer towing.
Authoritative Resources & Further Reading
To continue your automotive electrical education, rely on verified engineering documentation rather than forum hearsay. The following resources are highly recommended for mastering GM truck wiring:
- AA1Car Automotive Lighting Diagnostics - Excellent foundational reading on testing voltage drops and understanding parallel lighting circuits.
- SAE International J1128 - The definitive standard for low-tension primary cable specifications, wire insulation types, and temperature ratings used in OEM harnesses.
By understanding the flow of power, respecting the color codes, and maintaining clean grounds, you can conquer any electrical fault your 1988-1998 Chevy truck throws your way. Grab your multimeter, print out your schematic, and start tracing!